Quick Start
The goal of this quick-start is to get you up and running with 8base and a frontend framework.
This guide will introduce some basics of 8base workspaces and set up a starter app. It will help demonstrate key concepts of 8base, and maybe even kick-off your next awesome project.
1. Start an 8base Account
If you haven't already, create an 8base account. Open 8base to get started. We'll send you a confirmation email if you signed up using an email and password. Either way, once your account is confirmed, 8base will redirect you to a default workspace.
2. Setting up a Workspace
Each workspace is treated as an individual project – like having different Git repositories for different code bases. This makes it easy to stay organized with projects and upgrade individual workspaces when your app or service starts to scale!
Let's just use the default workspace for the rest of this quick-start.
If you want to create a new workspace, click the "YOUR NAME's Workspace" dropdown at the top of your screen and select "+ New Workspace". Name it whatever you like before pressing create.
2.1. Building a Data Model
In the workspace, navigate to the Data Builder page and click on [+ Create Table]. We're going to create one simple table and name it Notes for our data model with the following fields.
Notes
| Field | Type | Description | Options |
|---|---|---|---|
title | Text | The notes title | mandatory=True |
body | Text | The notes body | mandatory=True |
Once the tables is created, we're going to establish a relationship between it and the Users table - the Users table has already been created for you, by default. This can be done by dragging one table onto the other. However, we'll build the one-to-many relationship manually on the Notes table.
Add User to Notes
| Field | Type | Description | Options |
|---|---|---|---|
user | Table | A notes other | table=Users\nRelation Field Name=notes\nAllow multiple Notes per User=True\nAllow multiple Users per Note=False |

Before moving on, lets also add several dummy records to our database. You can do this manually by navigating to the data tab. However, lets just run the following GraphQL mutation in the API Explorer. Make sure to swap <YOUR_ACCOUNT_EMAIL_ADDRESS> with your email address!
mutation {
  userUpdate(
  filter: {
    email: "<YOUR_ACCOUNT_EMAIL_ADDRESS>"
  },
  data: {
    notes: {
      create: [
        {
          title: "New favorite food",
          body: "My new favorite food is the impossible burger"
        },
        {
          title: "This weeks todos",
          body: "Buy milk, cookies, and walk the dog."
        }
      ]
    }
  }) {
    notes {
      count
    }
  }
}
GraphQL mutations (like the one above) handle record creates, updates, and deletes. The data.notes.create value will actually create notes associated with the user record we're identifying by email – which is you in this example. The reason the value is in an array is because Users can have many Notes.
This is a great example of how 8base supports relational queries and mutations!
2.2. Roles and Permissions
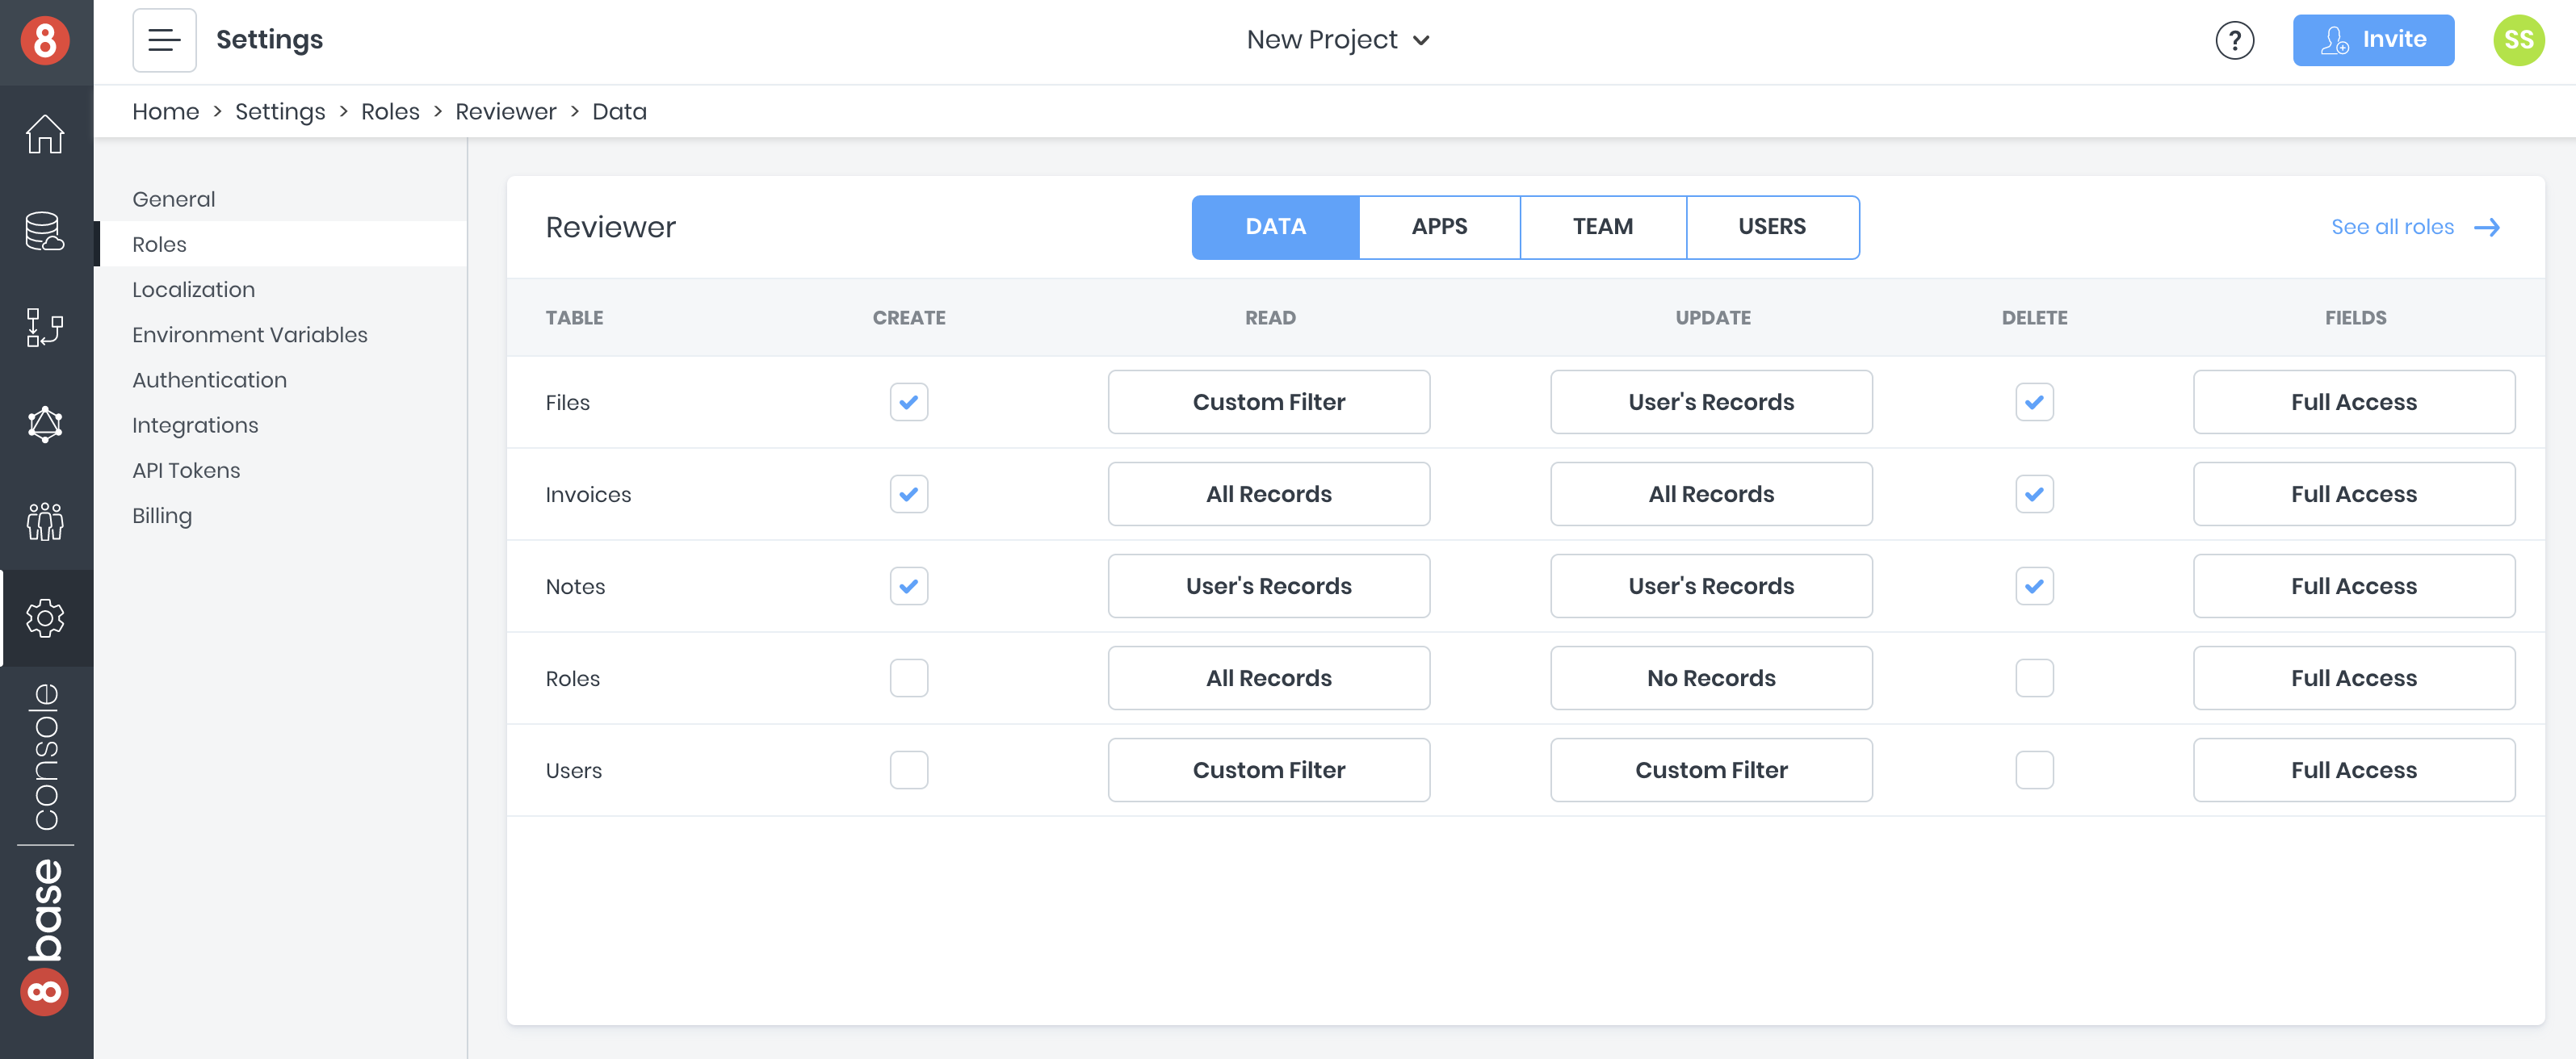
We only want to users to see their own notes. A custom role can enforce this. Navigate to App Services > Roles and create new role with the name "Reviewer". Once created, click the role and let's update its permissions.
Let's check the appropriate boxes and select the needed options.
Reviewer
| Table | Create | Read | Update | Delete | Fields |
|---|---|---|---|---|---|
| Notes | True | User's Records | User's Records | True | Full Access |
Now, all users with the Reviewer role who call the workspace API endpoint will have these permissions when querying notes. 8base handles roles and permissions natively, so it's easy to control what actions users can take on data resources.
2.3. Authentication Profiles
Setting up authentication will allow users to sign-up, log-in, and log-out of the app. For this quick-start, users should be authenticated to view their list of notes.
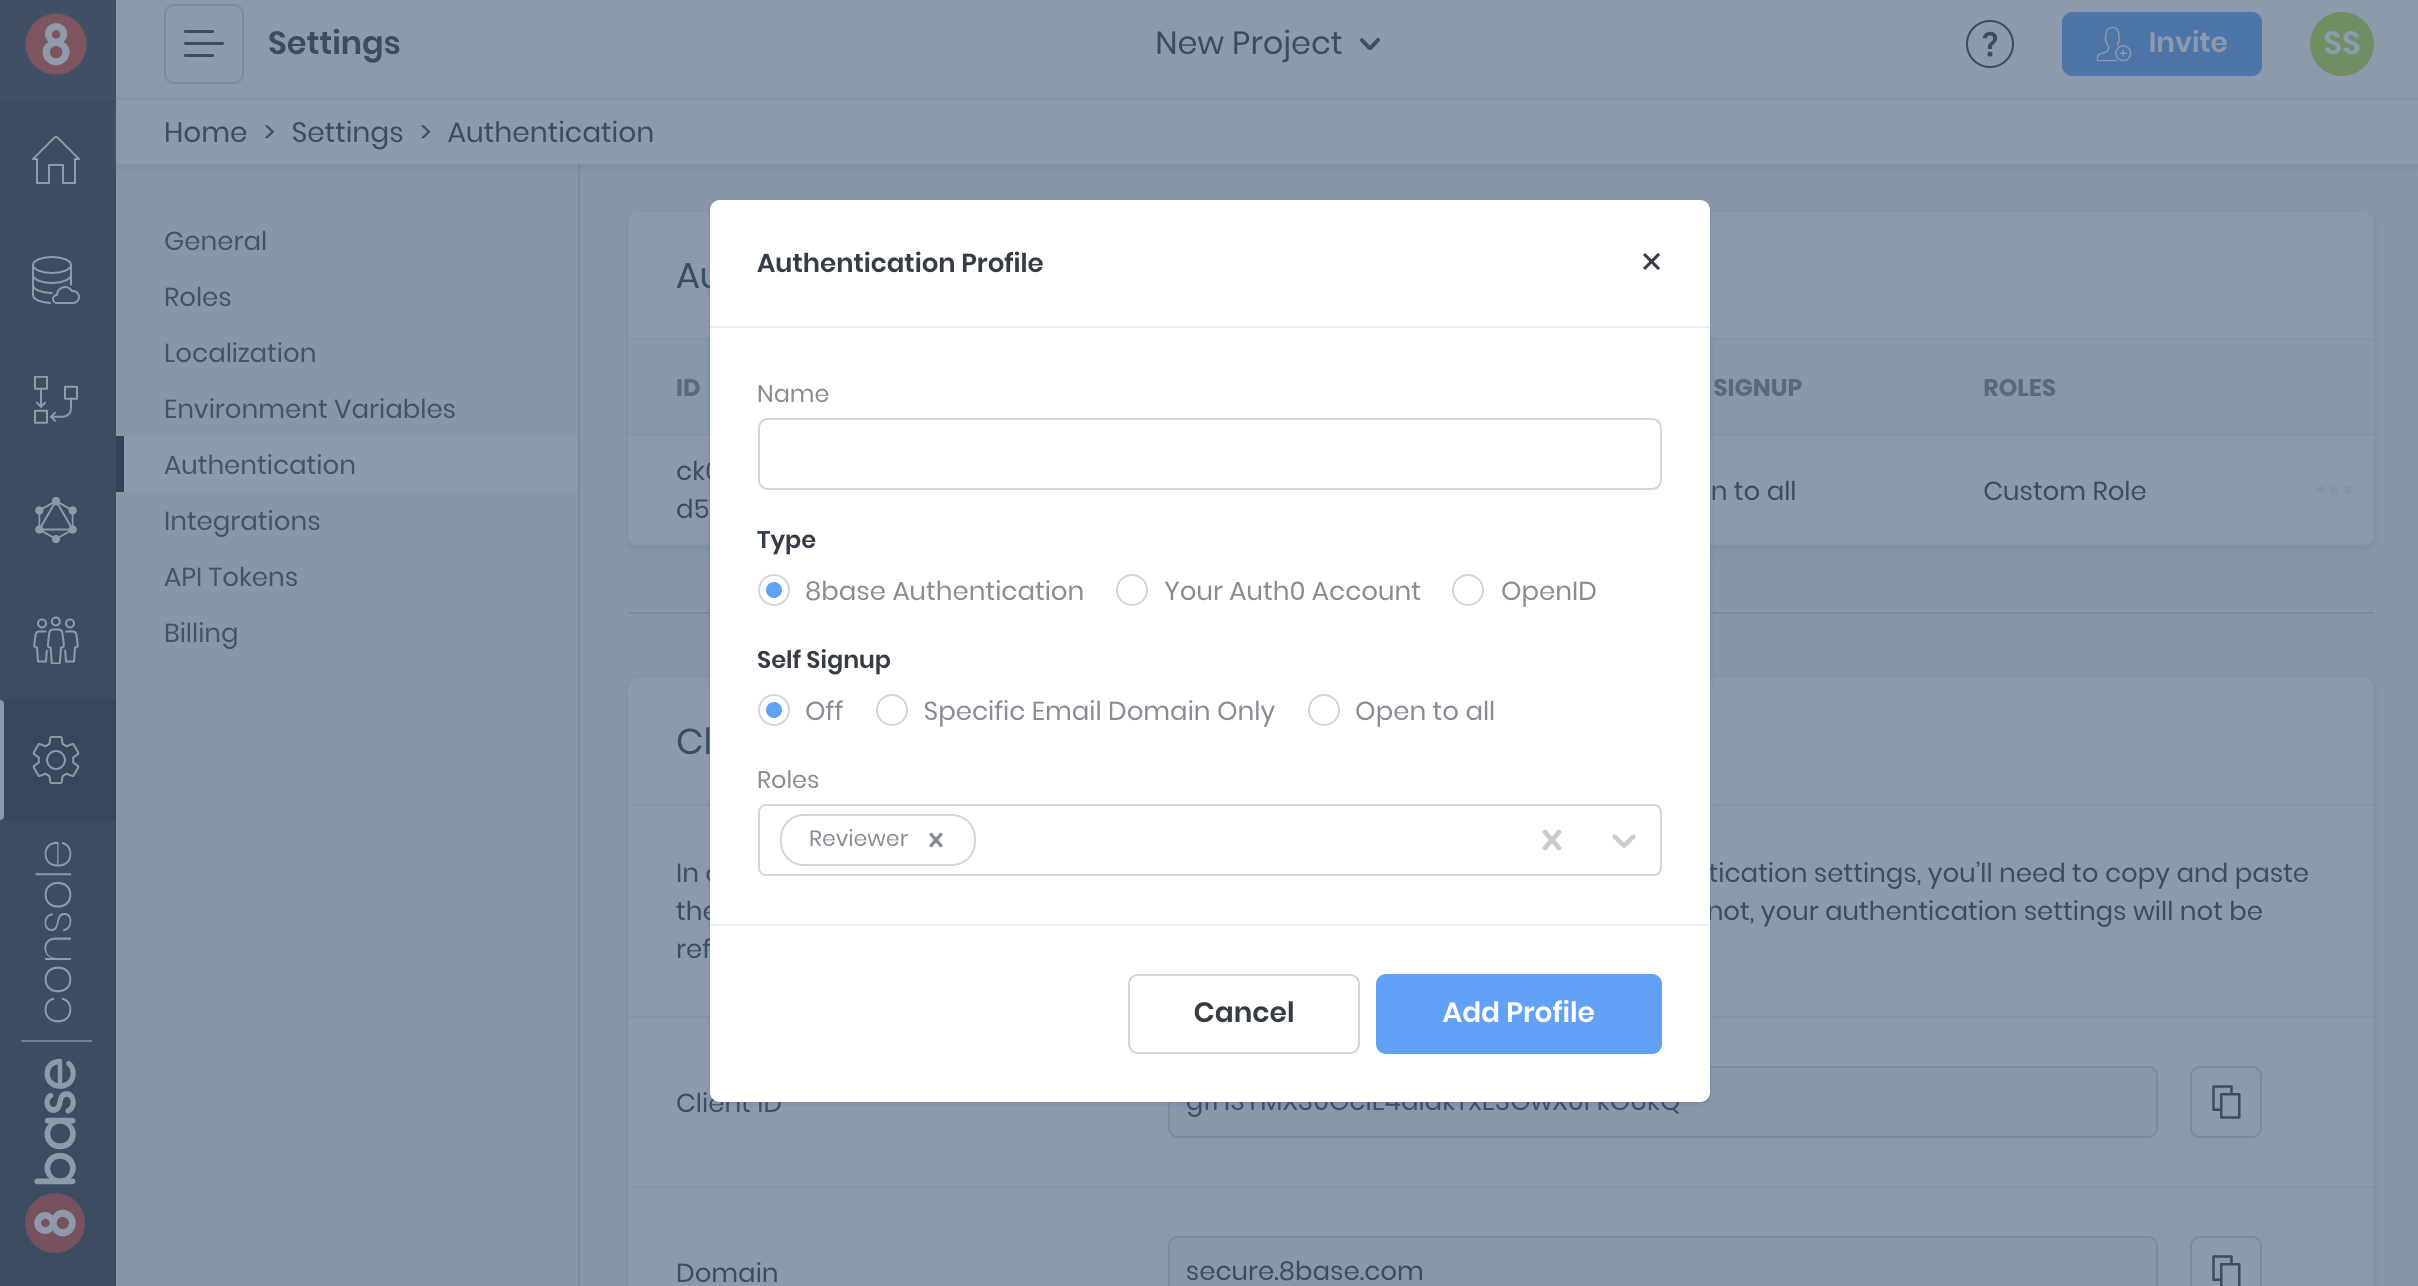
Navigate to the Authentication page in App Services. To create a new authentication profile, click the plus-sign button and specify the following values.
| Option | Value | Notes |
|---|---|---|
Name | "Default Guest Auth" | Choose any descriptive name |
Type | 8base authentication | Find more auth info in the docs |
Self Signup | Open to all | Leave Off if using a free workspace |
Roles | Reviewer | Multiple roles can be assigned to user on sign up |
Add the new authentication profile. The information that’s now displayed will be used when adding authentication to the front-end. Note the Authentication Profile Id, the Client ID and the Domain – these values will come in handy later in the article.
Scroll down to where you see Custom Domains. This is where you can provide routes that’ll be used during authentication. Make sure the localhost:port number matches that which your app will run on in development - or other redirect URLs for native apps!
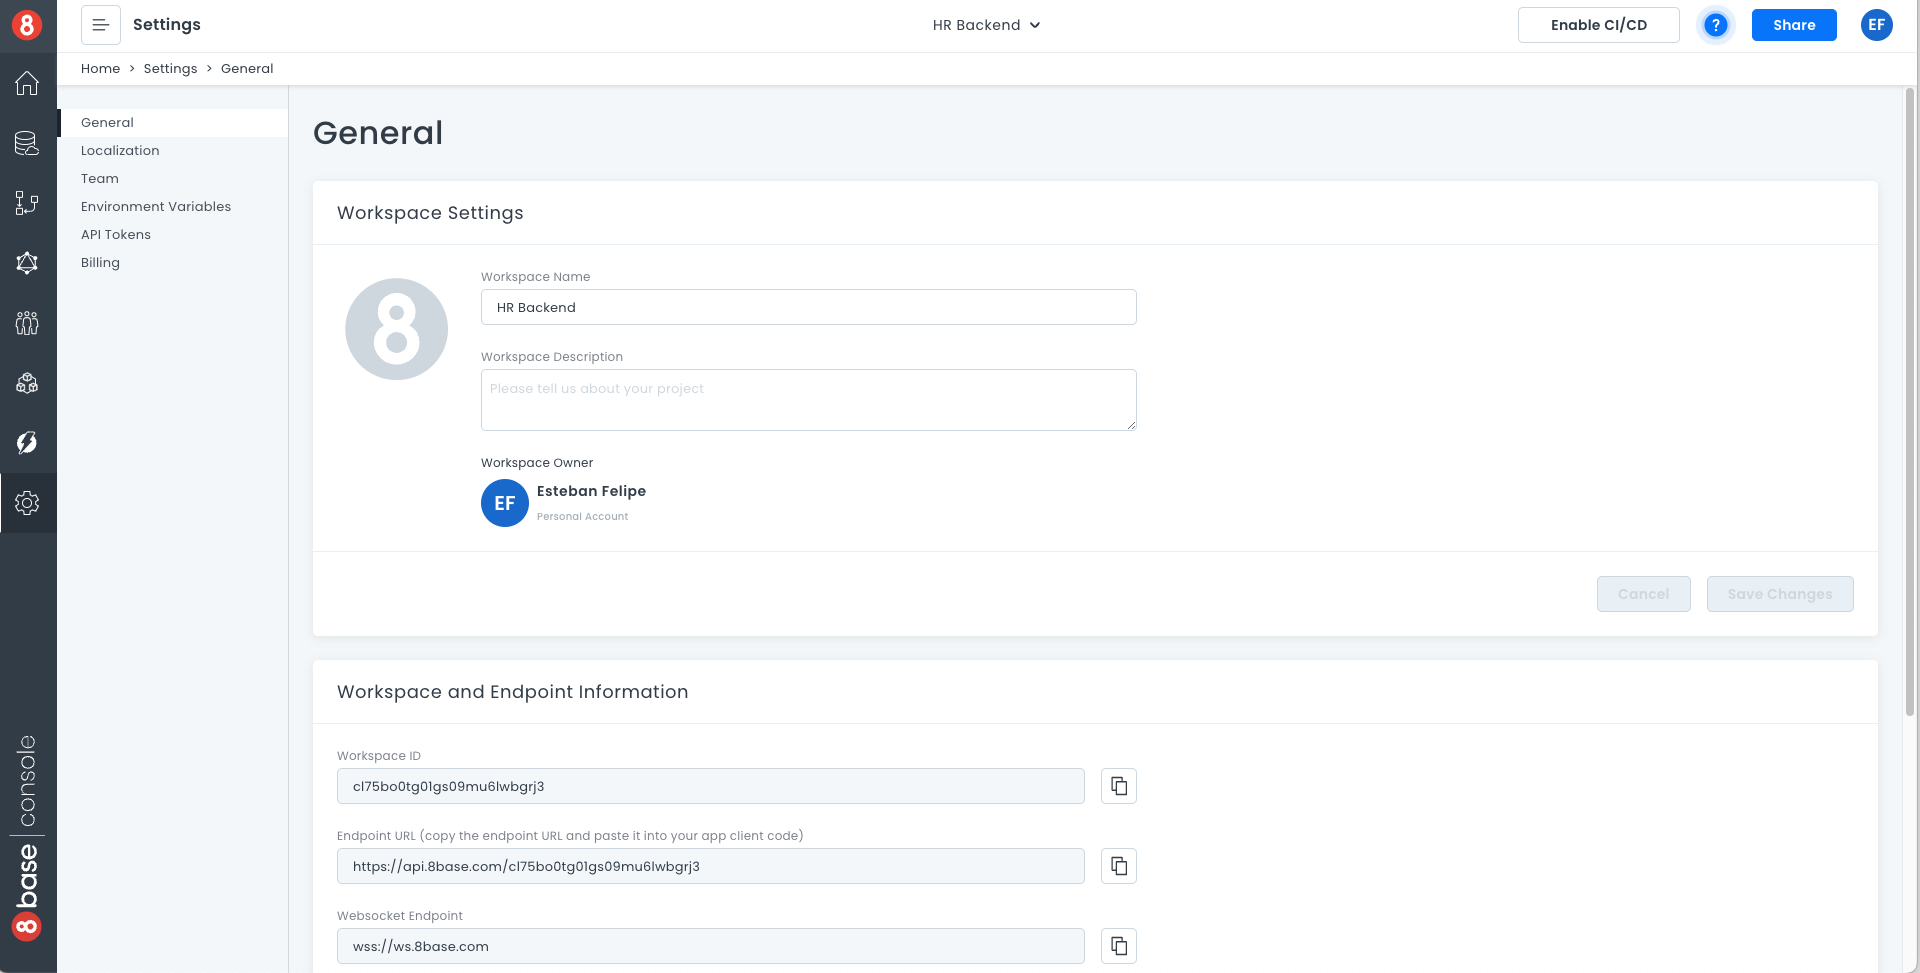
2.4. Getting the Workspace API Endpoint
Lastly, let’s copy our workspace’s API endpoint. This endpoint is unique to our workspace and is where we will send our data requests using GraphQL. It's schema is a follows:
https://api.8base.com/<WORKSPACE_ID>
There are a few ways to obtain the endpoint.
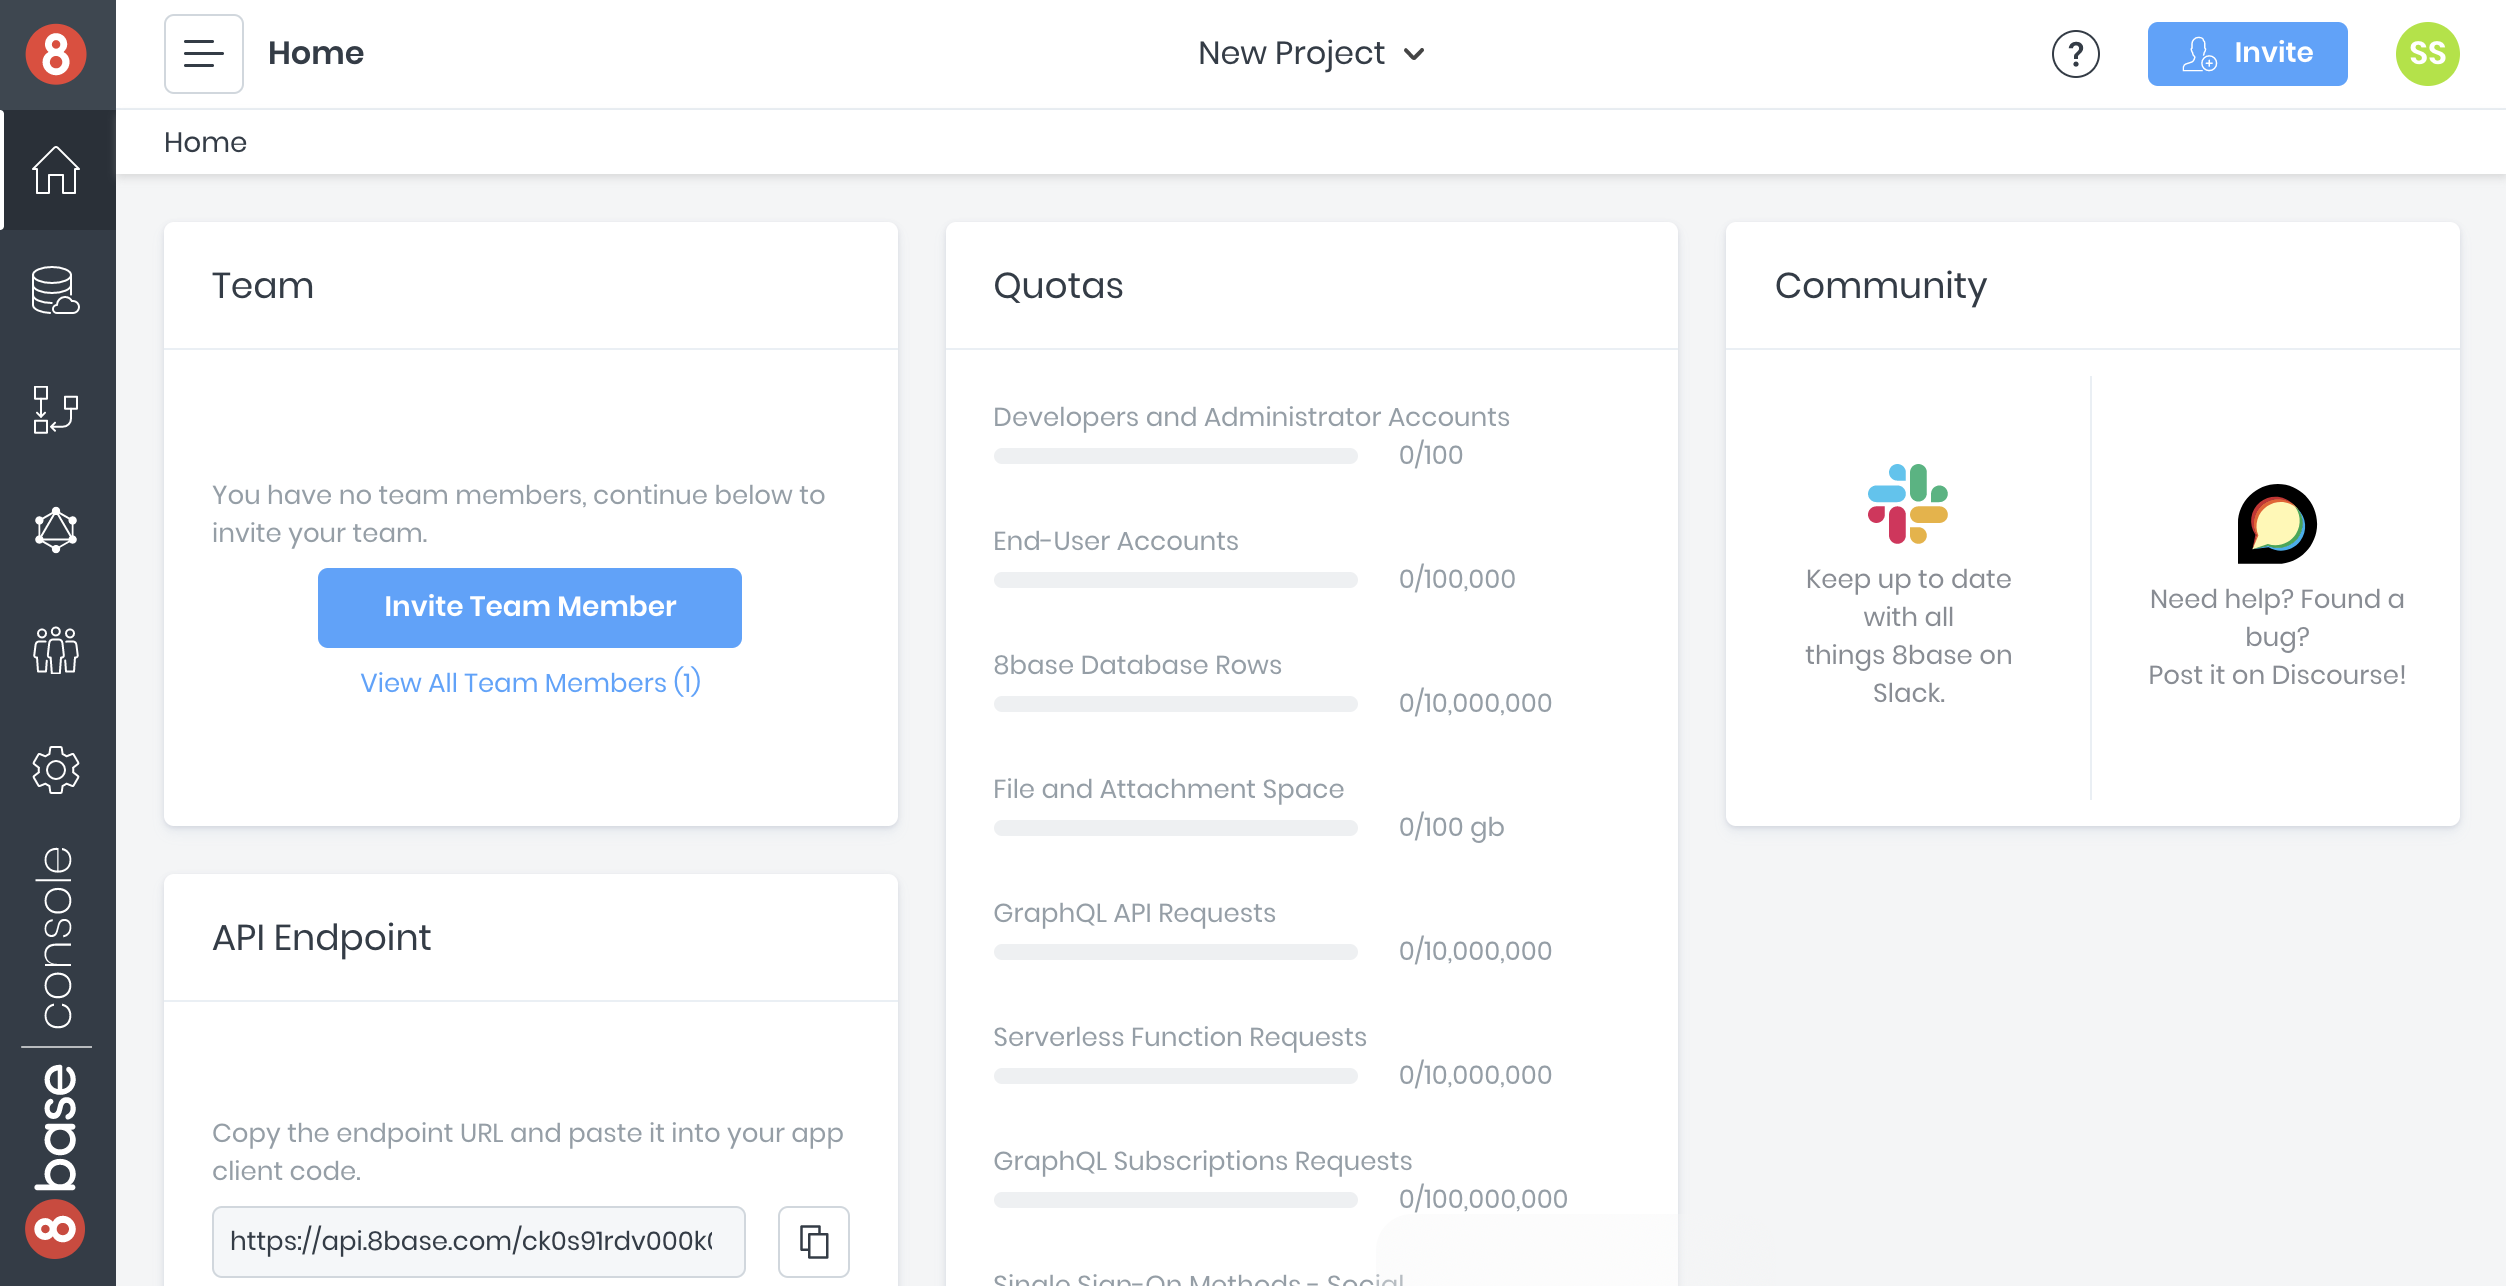
- In the backend workspace dashboard, at the bottom left.
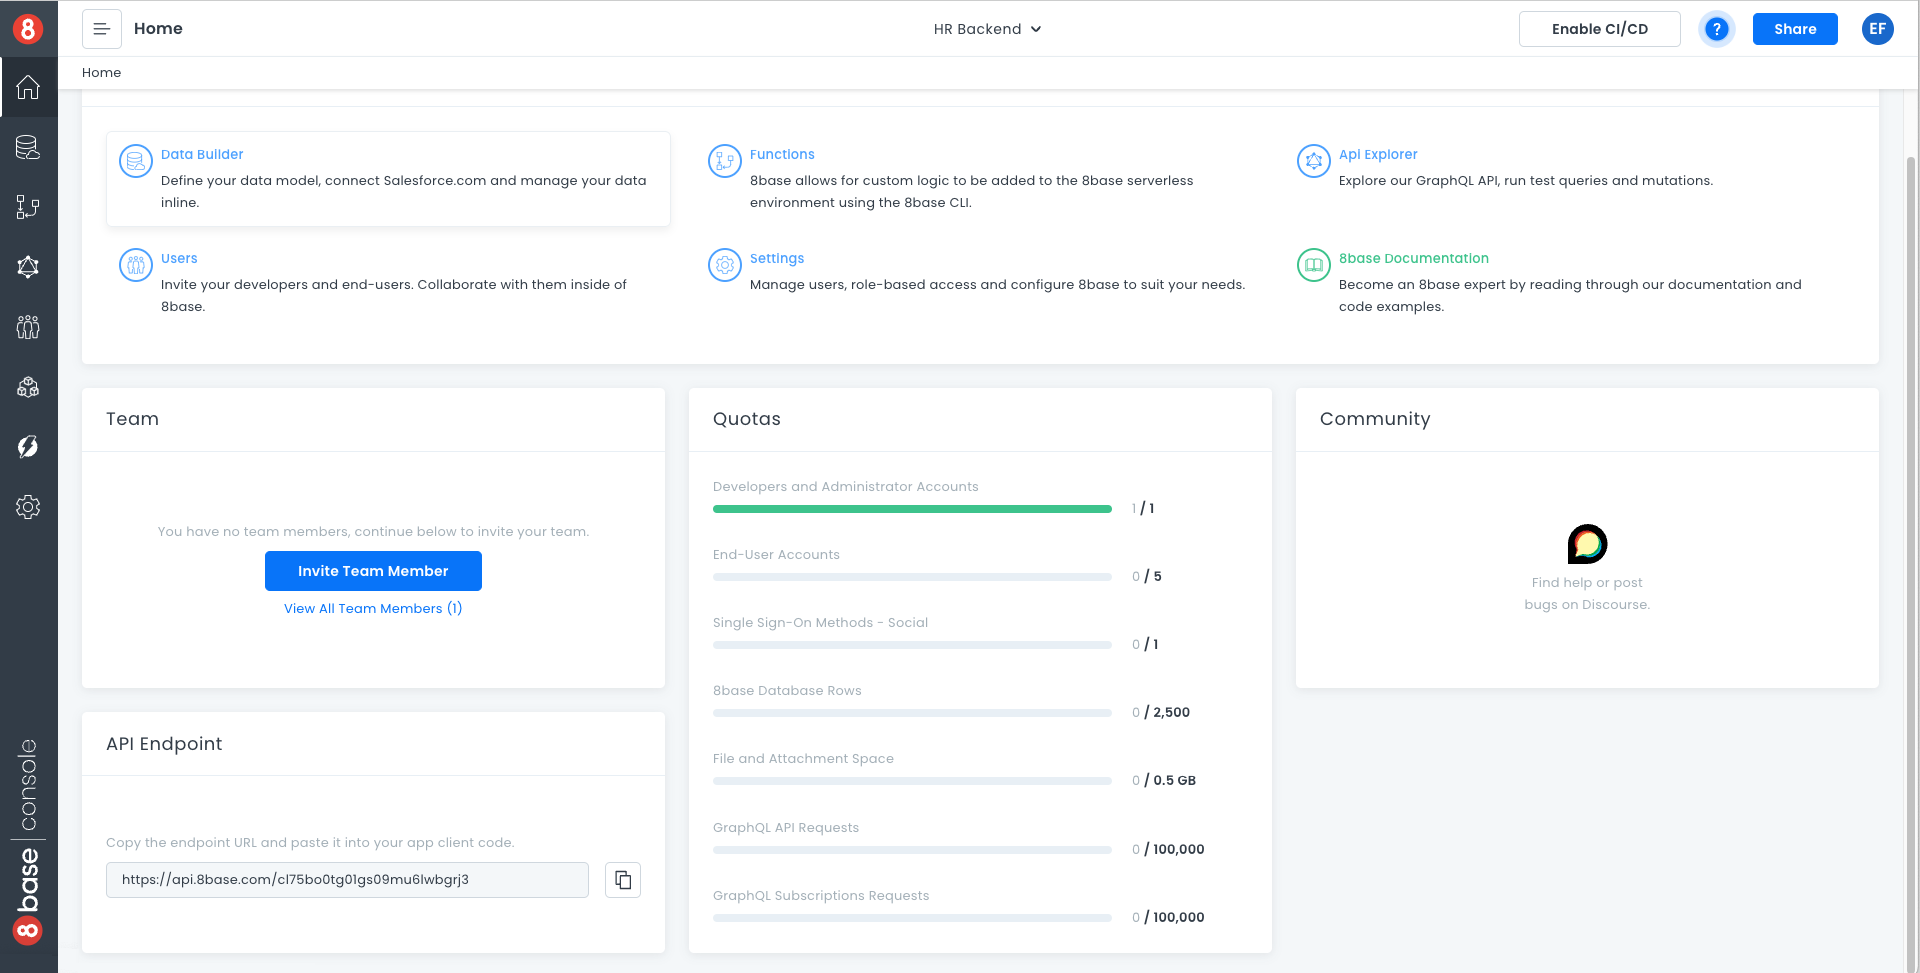
- In the data section, by clicking into the "Endpoint" button at the bottom left.
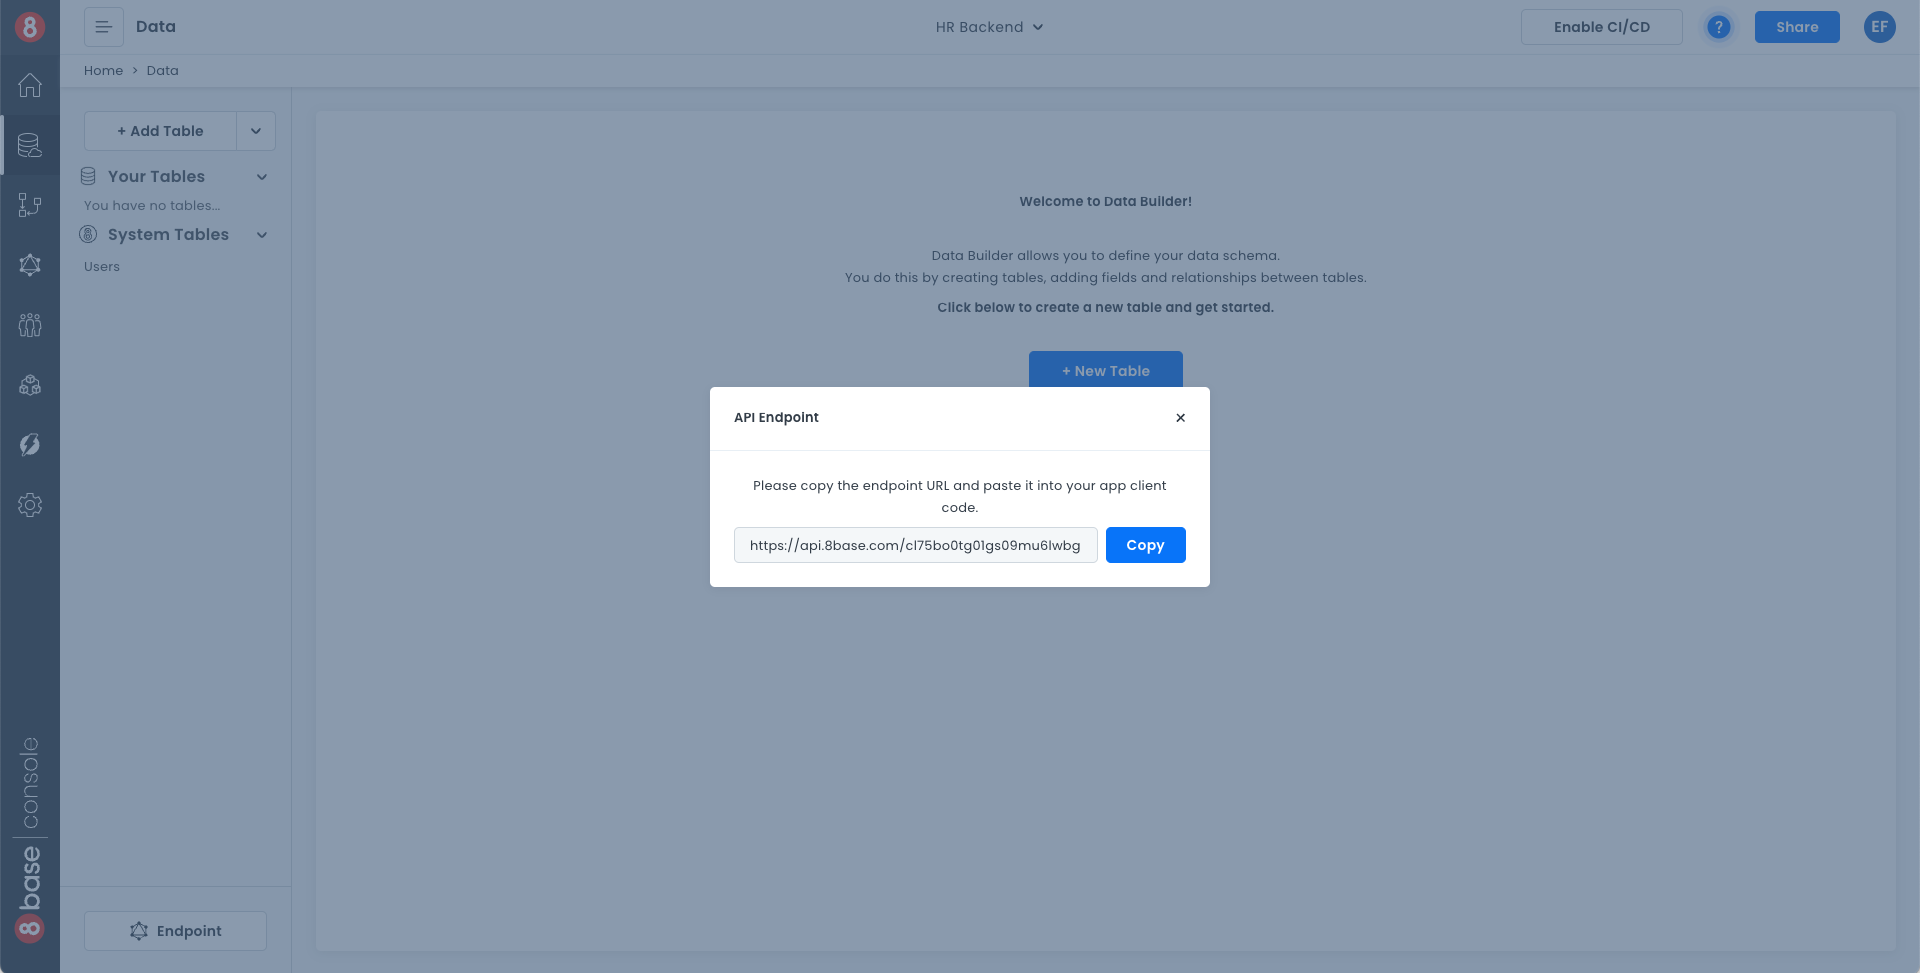
- In the workspace settings.
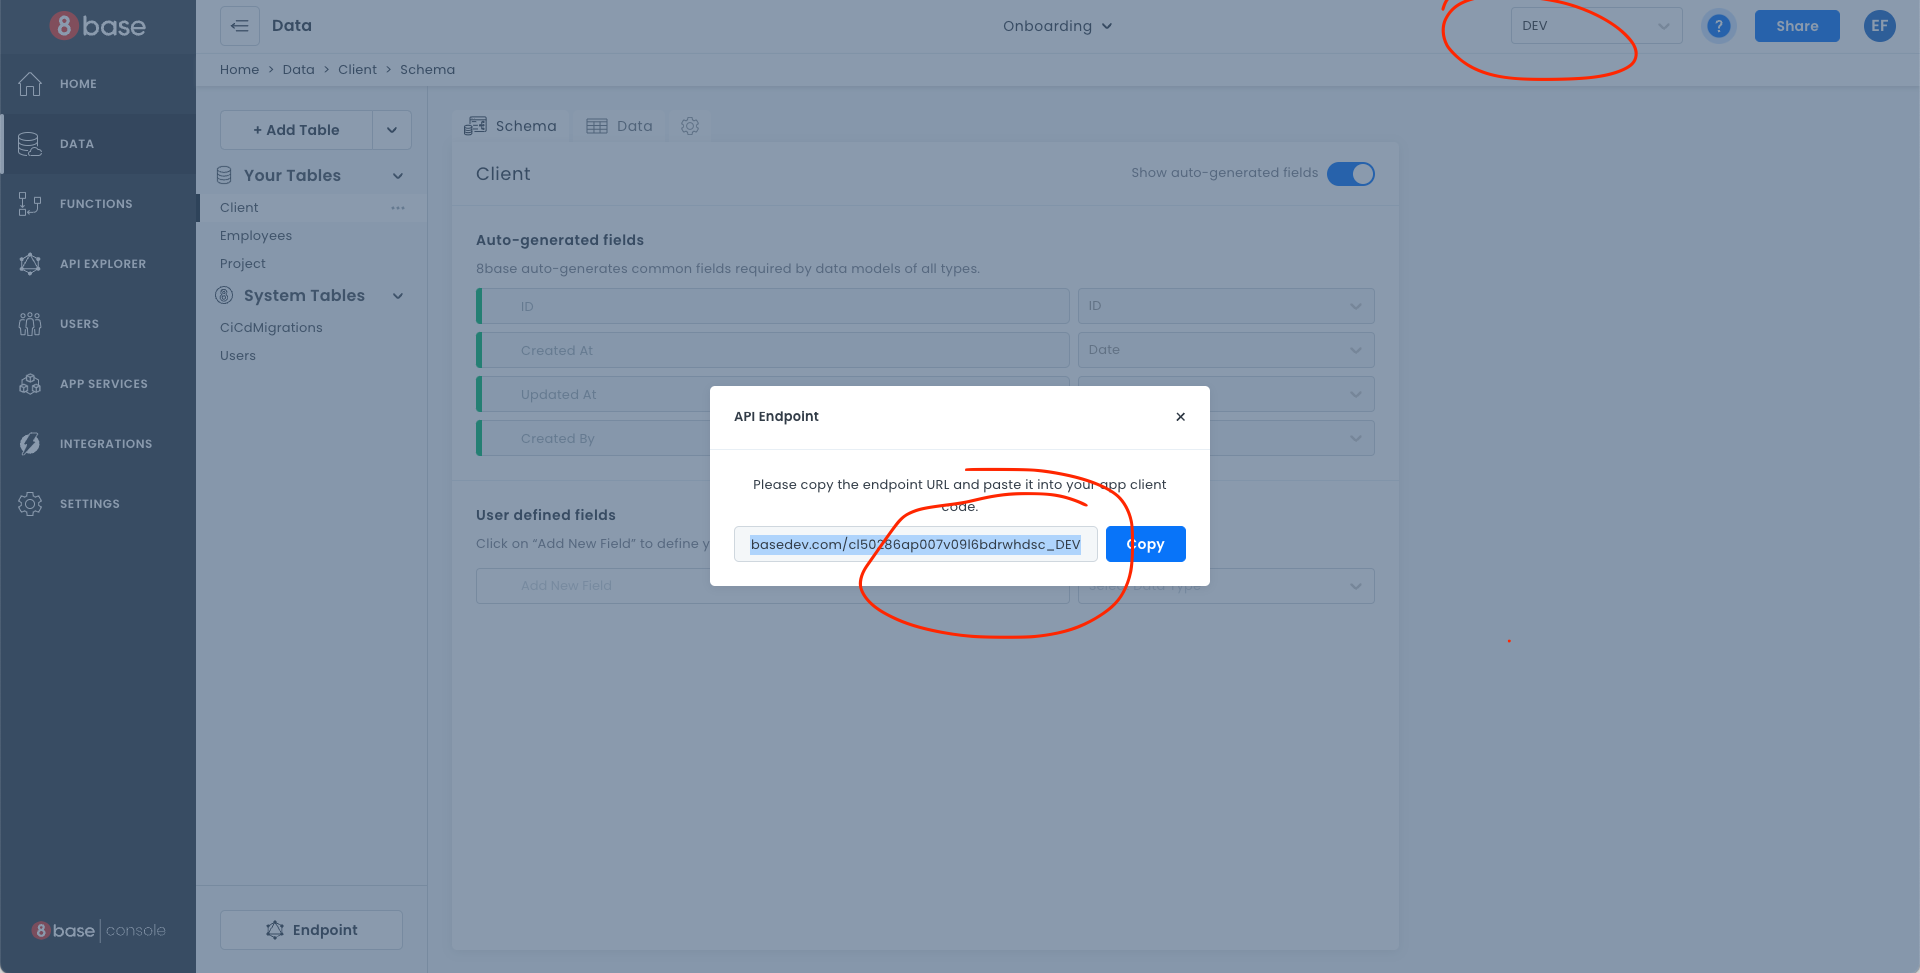
The endpoint will change if the workspace has CI/CD enabled. For environments other than MASTER, the endpoint will have an _ENVNAME at the end.
3. Setting up the Client
An important concept to grasp is that 8base is a Backend-as-a-Service that any frontend application can connect to using the workspace API. This creates a very clear separation between the server-side (8base) and client-side (an app / frontend).
# Project Directory Tree

8base-starter-app
├── README.md
├── client/
└── server/
Lets create a new directory with this separation in mind by creating the above Project Directory Tree structure. This can be accomplished with the following two shell commands.
# Make directory with client/ and server/ directory at root
mkdir 8base-starter-app 8base-starter-app/client 8base-starter-app/server

# Move into project and add README.md
cd 8base-starter-app && touch README.md
3.1. Install the 8base CLI and Authenticate
To harness the full power of 8base, you'll want to have Node.js installed on your computer. Without it, you won't be able to install our handy 8base CLI.
Assuming you're all set up and able to use npm, let's go ahead and install the 8base CLI.
# Install 8base globally
npm install -g 8base-cli
When using the 8base CLI you need to authenticate your development workspace. This allows you to communicate with 8base for deploys, function invocations, logs, and more. Try running the login command and allow your browser to launch a new window; you'll need to login.
# Login with CLI.
8base login
3.2 Deploy a Serverless Function (OPTIONAL)
This step is totally optional in the quick-start. It will show you how to quickly extend your workspace by generating and deploying serverless functions to a workspace.
Move into the 8base-starter-app/server directory. Let's initialize a new server project and configure it to a hosted workspace. Using the init and configure commands will generate and configure the needed resources. The workspace you select is the one where the Custom Functions will be deployed to when ready.
# Change into the server directory
cd ../server

# Init new 8base project with one function called myCustomResolver
8base init . --functions=resolver:myCustomResolver

# Install dependencies
npm install

# Configure the project's workspace
8base configure

✔ Select workspace for current project › Default Workspace
Once configured, a .workspace.json file is added to the directory containing the selected workspace's ID. Feel free to poke around the files marked with an asterisk(*) below before deploying the dummy function.
server
├── .workspace.json
├── *8base.yml
├── package.json
└── src
    └── resolvers
        └── myCustomResolver
            ├── *handler.ts
            ├── mocks
            │   └── *request.json
            └── *schema.graphql
By running the 8base deploy command, we deploy the function to our workspace (AWS Lambda in the background). Being a resolver function, we've now added the myCustomResolver operation to our GraphQL API. Pretty cool! Test it out using the CLI or in the API Explorer.
# Invoke function in production
8base invoke myCustomResolver -m request

# Invoke function locally
8base invoke-local myCustomResolver -m request
There are many custom function types you can deploy on 8base, all of which must be configured in the 8base.yml file located at the root of your project.
Serverless custom functions provide tremendous flexibility in customizing server-side resources and allowing advanced capabilities, like:
- Resolvers: For adding custom Querys and Mutations to the GraphQL API.
- Triggers: For invoking functions on data events (before|after record create|update|delete, run function)
- Webhooks: For invoking functions on webhook events using HTTP requests ([GET|POST|PUT|DELETE] @ endpoint)
- Scheduled Tasks: For invoking functions on timed intervals (once a day, every five-minutes, or cron format)
3.3. Choose a Starter App / Framework for the Frontend
8base gives you full freedom to use whatever front-end technologies/frameworks you love. For this quick-start, we recommend that you use one of our starter apps. Currently, they are:
| Framework | Repo | Clone |
|---|---|---|
| Vue | Repo | git clone https://github.com/8base/vue-8base-starter-app.git |
| React | Repo | git clone https://github.com/8base/react-8base-starter-app.git |
Depending on the framework you wish to use, try cloning it into the 8base-starter-app/client directory.
# Move into the client directory and
cd ../client

# Clone Starter App
git clone <CloneUrl> .

# Install dependencies
npm install
3.4. Setting up the client
All of the 8base starter apps are preconfigured for both authentication and API communication. They only need a few environment variables to set. Those environment variables are:
APP_WORKSPACE_ENDPOINT=<workspace_endpoint>
APP_AUTH_PROFILE_ID=<auth_profile_id>
APP_AUTH_CLIENT_ID=<auth_client_id>
APP_AUTH_DOMAIN=<auth_domain>
Look for a 8base-starter-app/client/.env file that contains a template for the required environment variables. Fill in the template with all appropriate values. Each starter app will have a thorough READme.md with instructions on which files are responsible for which functionality. Please read them!
4. Run the app!
Using the command that's appropriate to the chosen starter app (npm start/serve/etc.), boot it up! You'll find the right start command in the starter app's READme.md file.
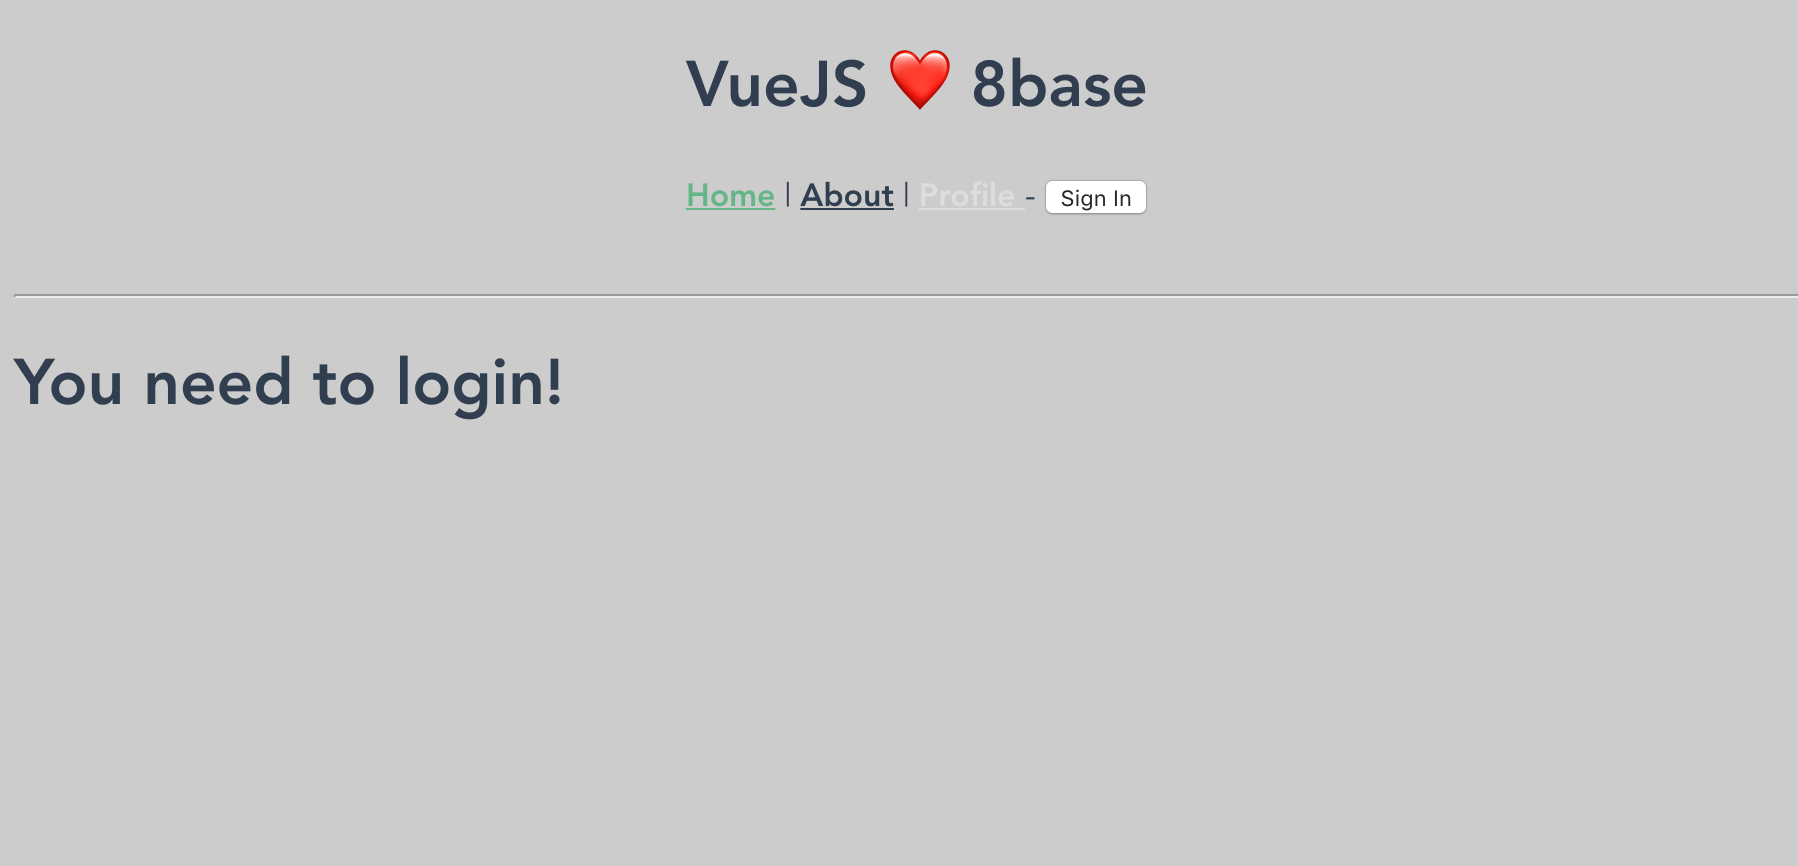
You can now login, logout, and sign-up in the starter app using your username and password. Meanwhile, when authenticated you're able to access the Profile page, which queries the GraphQL API for the authenticated user information.
Authenticated queries happen by passing an idToken as a Authorization header on API calls. This idToken is recieved and stored when the user authenticates. The auth flow differs slightly depending on the starter app you chose. However, each fully documents it's own authentication flow and state management strategy.
5. Challenge
Who ever said life has to be easy? No one! The whole goal of this quick-start is to learn, and you can't learn if you don't try! So, here is a challenge for you.
Go back to the API Explorer and click on the Explorer button. Once opened, find the notesList operation and build a query. Once that query is built, run it to make sure it's working properly.
It could look something like this:
query {
  notesList(first: 10, filter: {
    title: {
      contains: "food"
    }
  }) {
    count
    items {
      title
      body
      user {
        email
      }
    }
  }
}
Now, try to copy the working query and add it to your application. Look for a graphql.js file if you're working with a JavaScript application, or simply add it anywhere you see fit. Go ahead!
Using this query, you'll start getting your notes data back from the API. With that data, you can build an awesome notes component inside your application.
Take the time to investigate the starter app for clues on how you might execute that query. However, if you need some help making it happen, here's a simple script that will help give you an idea.
/* A GraphQL library is required */
const { GraphQLClient } = require('graphql-request');

/* Create a GraphQL client instance to send requests */
const client = new GraphQLClient(endpoint, {
  headers: {
    Authorization: `Bearer <ID_TOKEN OR API_TOKEN>`,
  },
});

/* Execute an API request */
const data = await client.request(
  '<YOUR_API_ENDPOINT>',
  `
  query {
    notesList(first: 10) {
      items {
        title
      }
    }
  }
`
);

/* Do something with the data! */
console.log(data);
Conclusion
We hope this quick-start guide has helped you better understand how 8base works! We know that there was a lot in it. Feel free to keep experimenting with your workspace, add new tables, deploy custom logic, and develop some amazing applications!
If you need help or have questions, definitely check out the 8base Community Here! Also, our documentation has a ton more information on everything that we've covered here.
Happy coding!