Project Dashboard Walkthrough
The Project Dashboard is where you access everything related to your project. The screen is divided into a main page and a left-hand menu.
The main page consists of your project's name, project information, project settings, and your backend and frontend applications.

Main Page
Backend
To launch your backend, click the Open button on the Project Dashboard next to the backend name. The backend opens in a new browser tab. Here you can view your application quotas, start building your data model, define functions, set up team roles, use the API explorer to create GraphQL queries, and get help from the 8base community.

Frontend
To launch a frontend, click the Open button on the Project Dashboard next to the frontend name. The App Builder opens in a new browser tab.
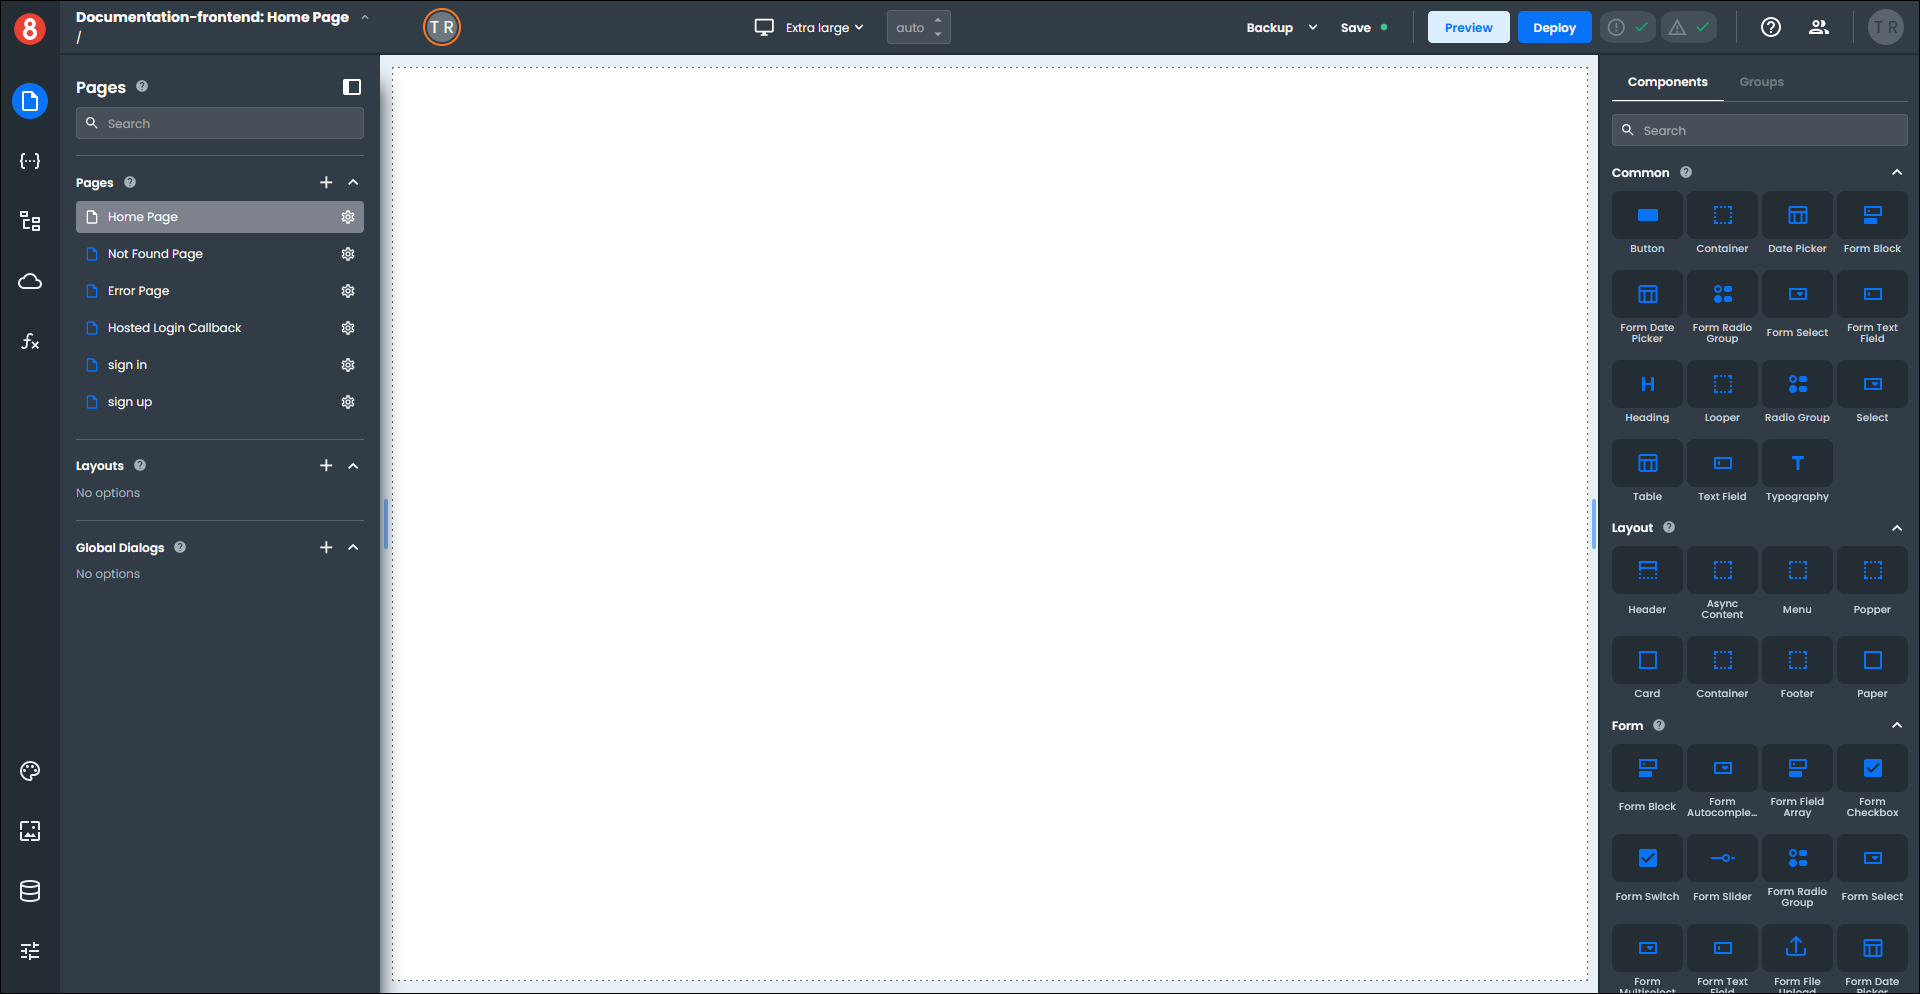
If you have more than one frontend, click the down arrow next to the current frontend name. This displays a list of all your frontends.
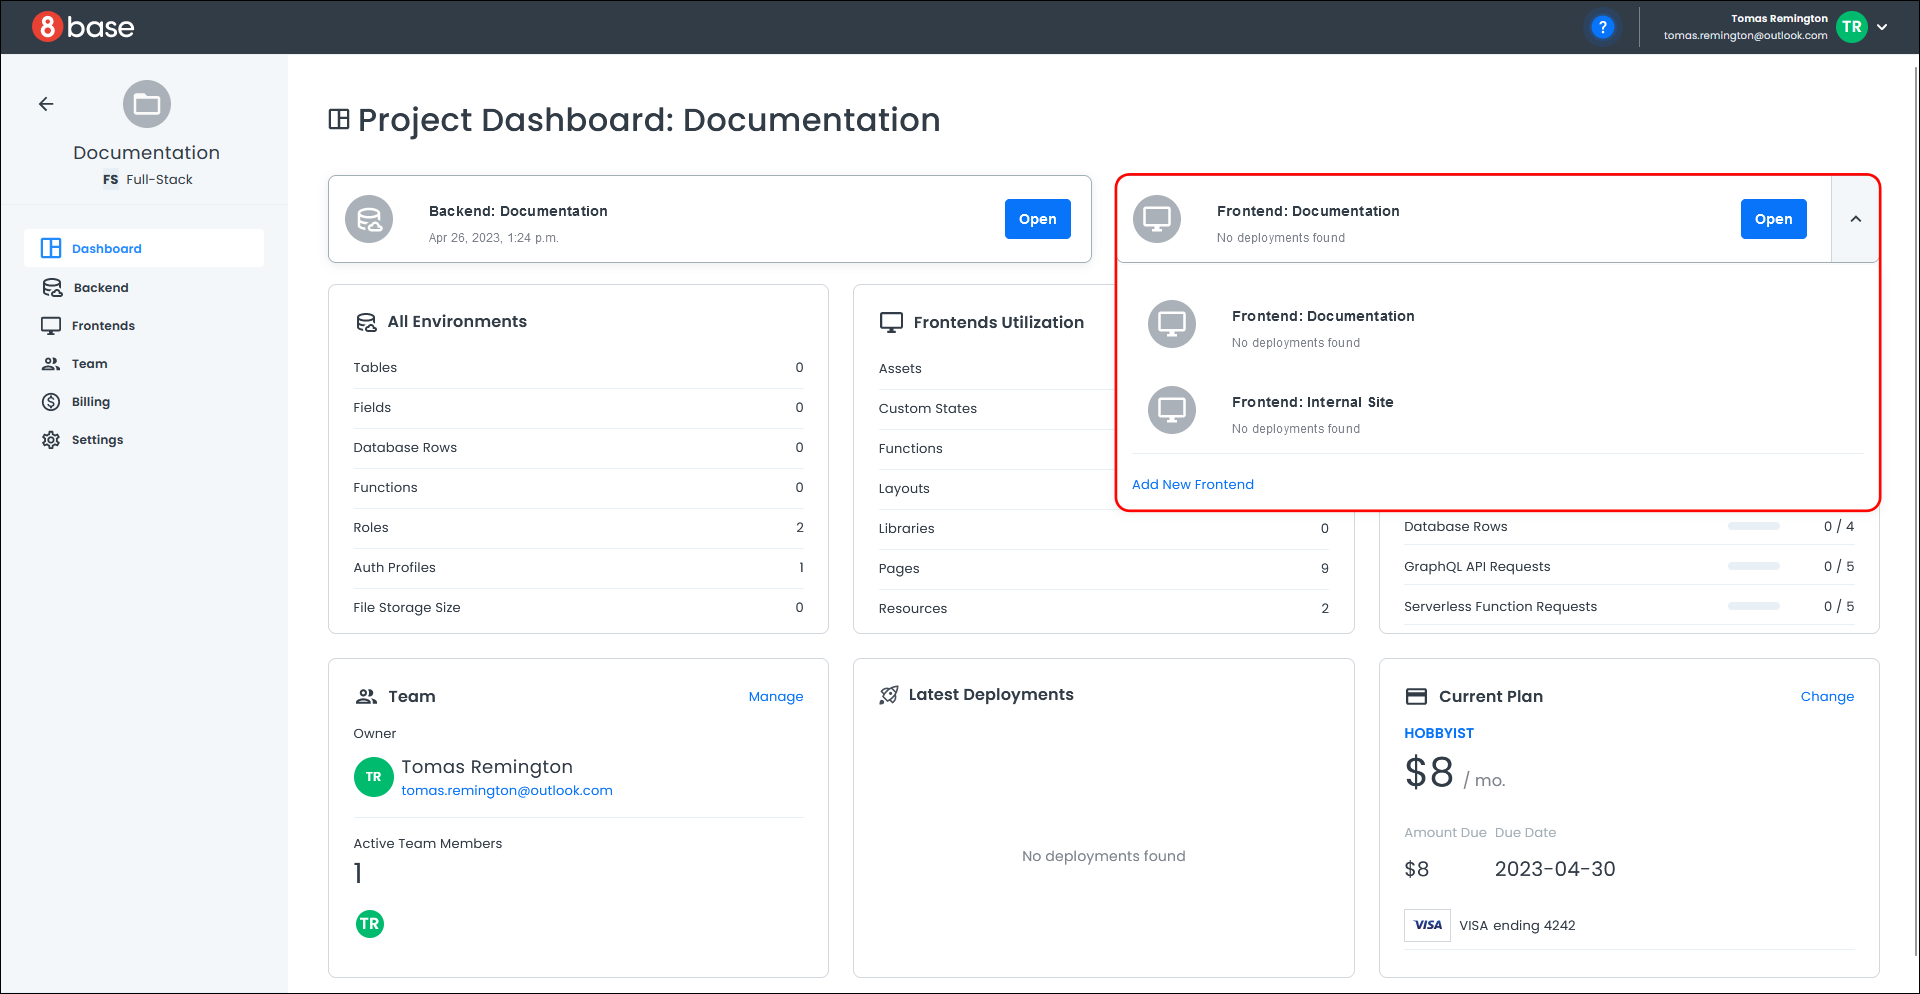
Select the frontend you want to work with and click the Open button. The App Builder opens in a new browser tab.
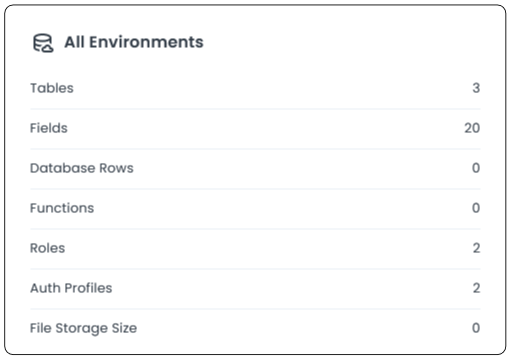
All Environments
The All Environments area provides information about your project roles, authorization profiles, file storage size, and database information for your backend application. You will only see this area if you have a backend application.
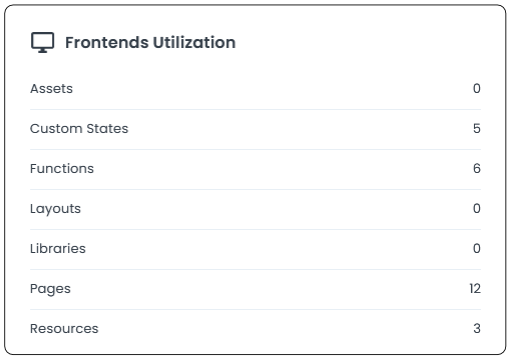
Frontends Utilization
The Frontends Utilization area provides information about the assets, layouts, libraries, pages, etc., used by your frontend applications.
Quotas
The Quotas area provides usage data and limits on different aspects of your project, such as the environment limit, number of team members, client user apps, and database rows. You can also access your Billing information.
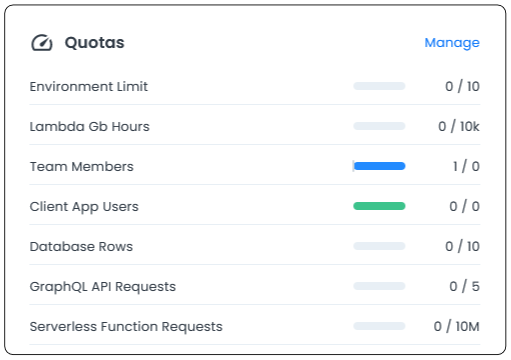
To manage your Billing information, click the Manage link next to the quotas heading. A page opens with information about your payment method, project usage, billing period, and billing history.
Team
To manage your project Team, click the Manage link next to the team heading. A page opens with information about your current project's team members.
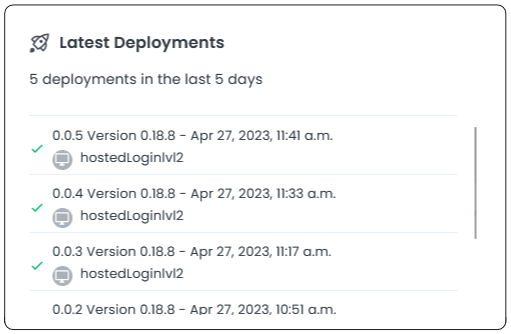
Latest Deployments
The Latest Deployments area provides information about your frontend deployments over the last week. The date and time of deployment, the current application version, and the project name are all displayed.
Current Plan
If you want to change your current plan, click on the Change link next to the Current Plan heading. A dialog box opens and displays available plans and your existing plan.

To select a new plan, click the Continue button. A confirmation dialog opens showing your newly elected plan.
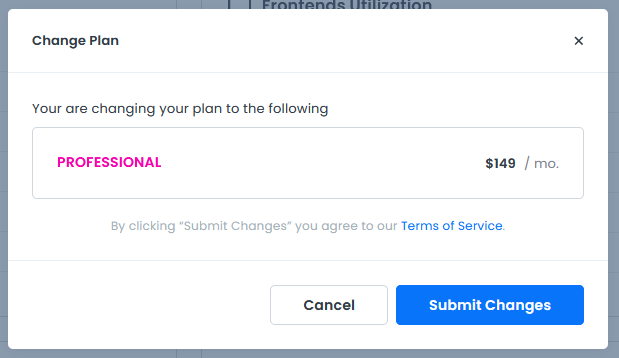
Click Submit Changes to process the payment for your new plan.
Your payment will be processed, the Project Dashboard will reload, and your new plan will appear under the Current Plan heading.
Left-hand Menu
Dashboard
The Dashboard link opens the Project Dashboard.
Backend
The Backend link opens a page with information about your backend, such as the Cloud Provider, Database Type, Endpoint, and the number of tables, functions, and fields in your database. Click the Open button in the top right corner of the page to open your backend application in another browser tab.
For more information, see Backend.
Frontends
The Frontends link opens a page listing your frontends and deployment information for each frontend.
For more information, see Frontend.
Team
The Team link opens a page with information on your project's team members.
For more information, see Team Management.
Billing
The Billing link opens a page with billing information for your project.
For more information, see Billing.
Settings
The Settings link opens a page with information about your project, such as the project name, a description, and a custom project icon. This is where you can delete the project.
For more information, see Settings.