Configuring Role-Based Access Control
When developing applications, there are two key aspects that can potentially inhibit your progress: Authentication and Authorization. Authentication confirms the identity of a user, ensuring that they are who they say they are. Authorization, on the other hand, decides what an authenticated user is allowed to do. In 8base, we streamline these features through our Role-based Access Control (RBAC) API.
Whether you are creating a simple blog or a multi-tenant SaaS solution, setting clear boundaries through roles and permissions is essential. This ensures that users only interact with the data and functionalities they are allowed to access. 8base's RBAC is tailored to offer both adaptability and potency, allowing developers to define nuanced permissions effortlessly.
In this section, we will delve into a practical example, outlining roles and permissions for a hypothetical blogging platform. For or a more in-depth exploration of RBAC in 8base, please refer to Roles and Permissions and Authentication.
The Data
In our example, we are building a blogging platform. In our application, we have the following tables:
- Posts: Stores the articles written by editors.
- Authors: Contains the list of authors who can write posts.
- Users: 8base default system table that maintains the registration details and roles of every individual accessing the platform, be it as an editor, a reader, or an admin.
Note on Users vs Team Members
There is a difference between Users and Team Members in 8base:
- Team Members are individuals invited to the workspace. Their roles define permissions within the 8base Management Console.
- Users are individuals who sign-up for the application you have built. Their roles determine permissions within the application.
For an in-depth understanding, refer to Project Team Management and Team and User Administration.
Setting up Roles and Permissions
For App Users
Editor
We need to create a new user role called "Editor".
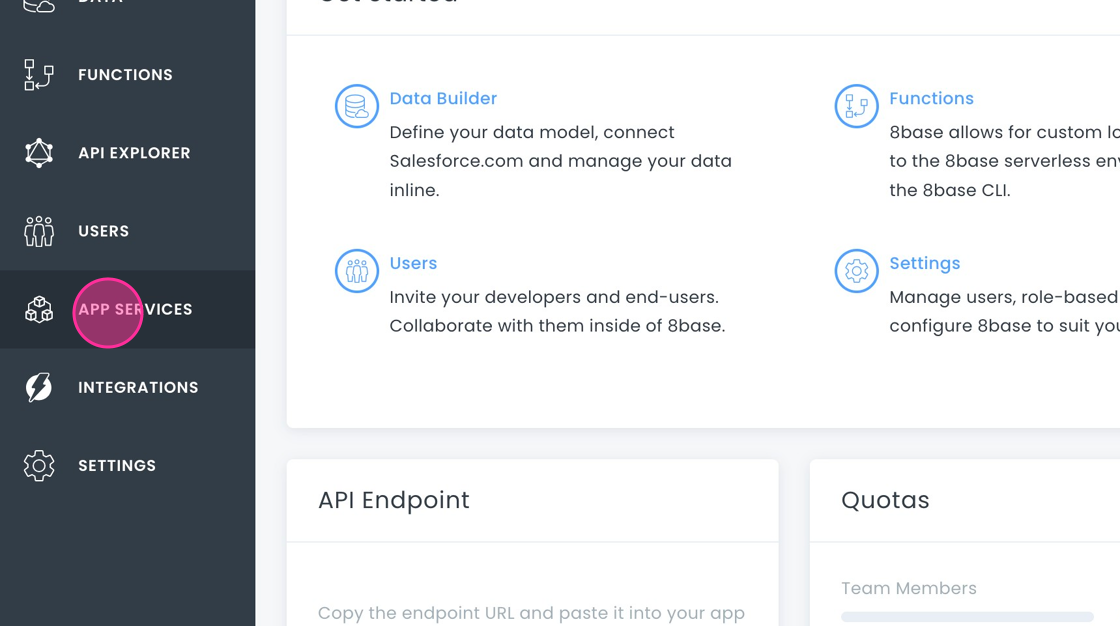
- Navigate to App Services > Roles.
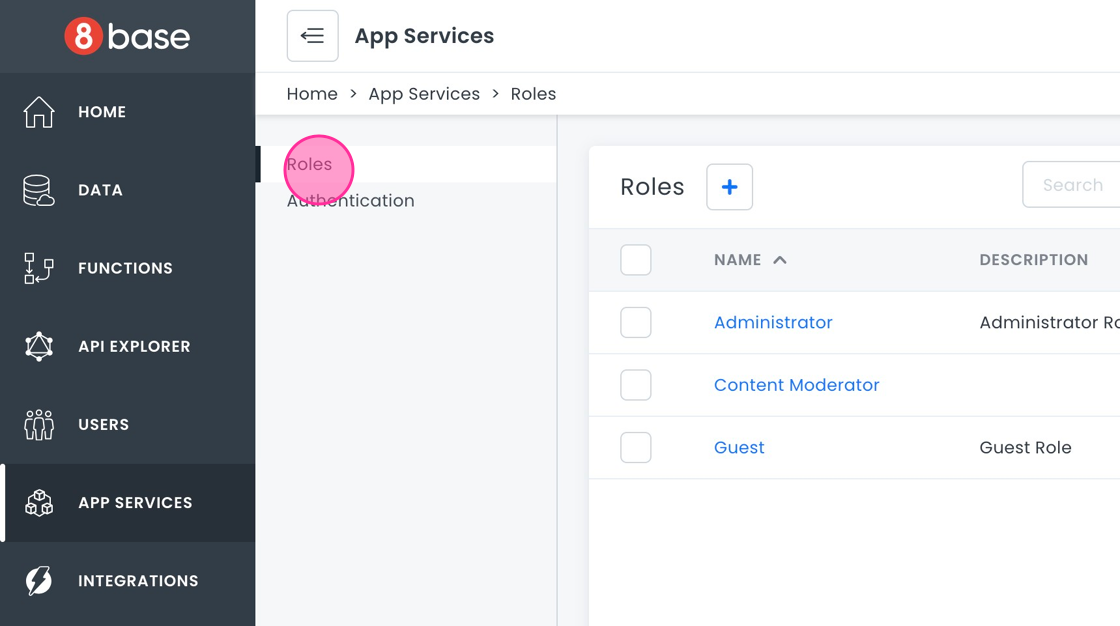
- Click on Roles.
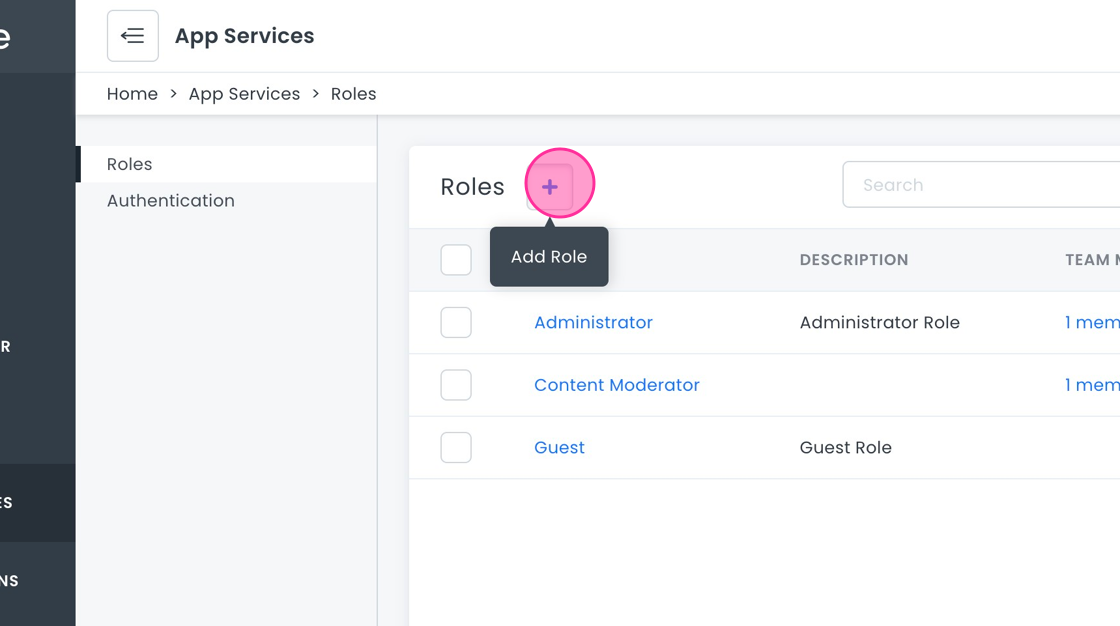
- Click the + button.
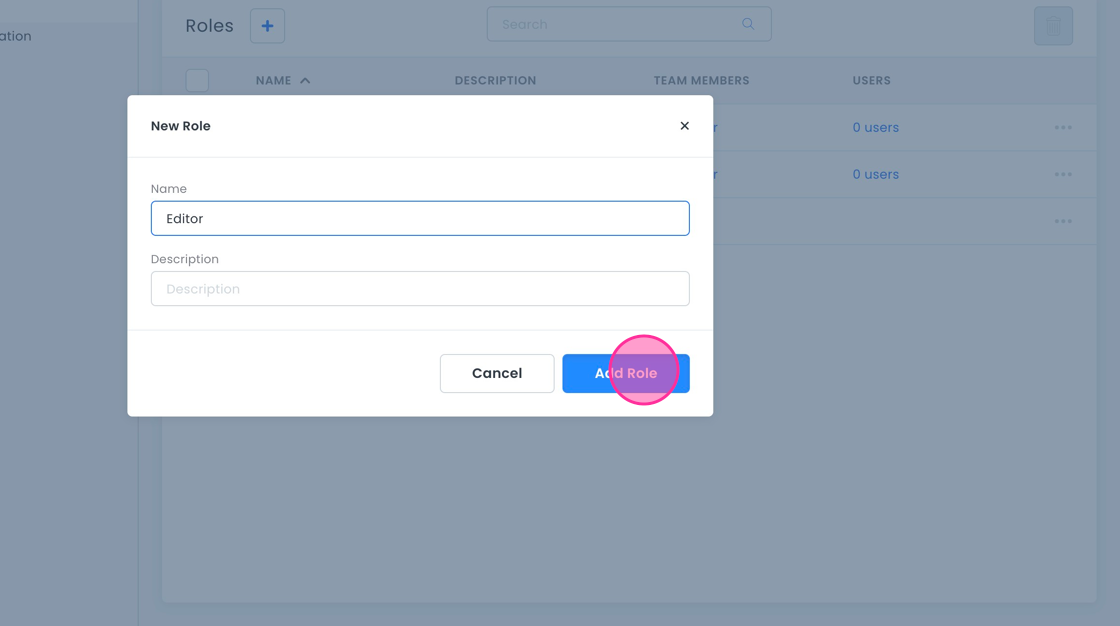
- Type in “Editor” and click Add Role.
Now we will edit the "Editor" role permissions.
- Under the Data tab, find Posts.
- Grant CRUD permissions for the
Poststable. Click the Create checkbox.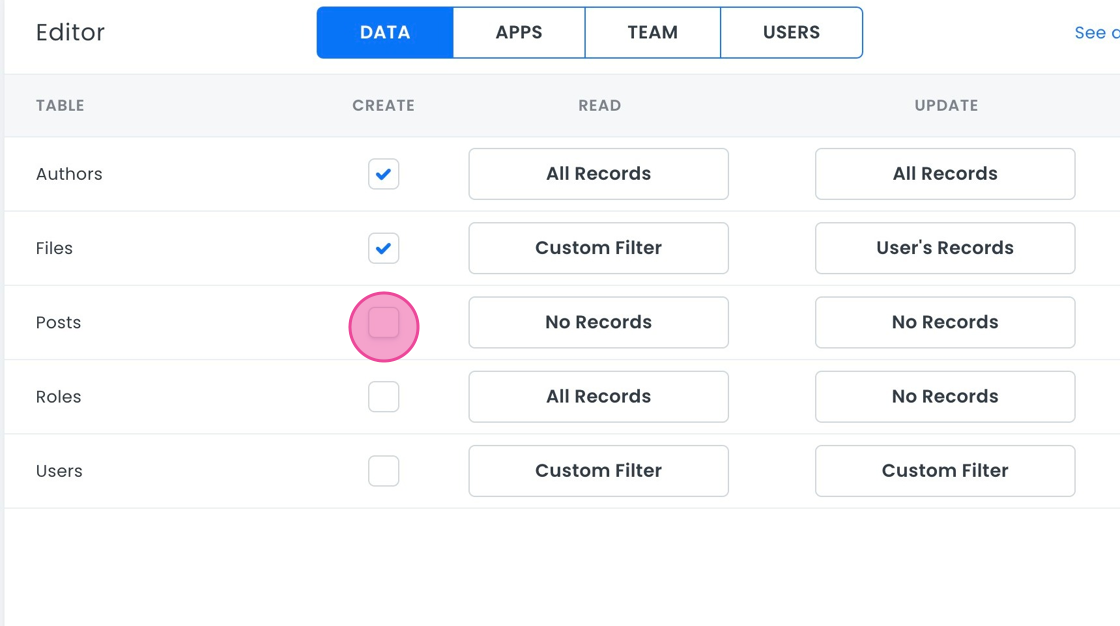
- Click the dropdown.
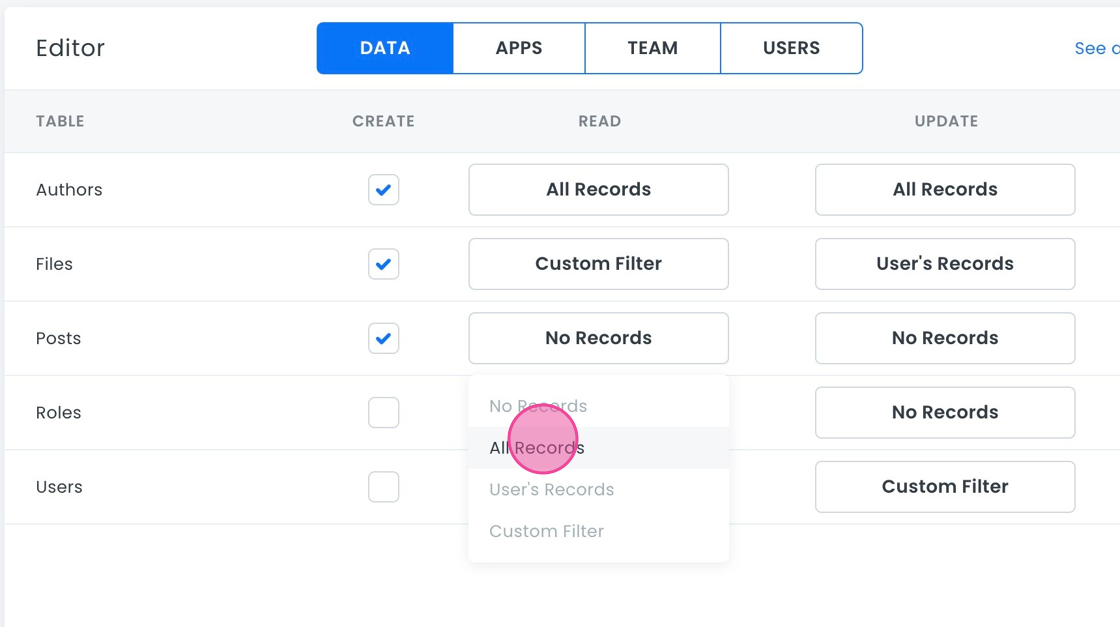
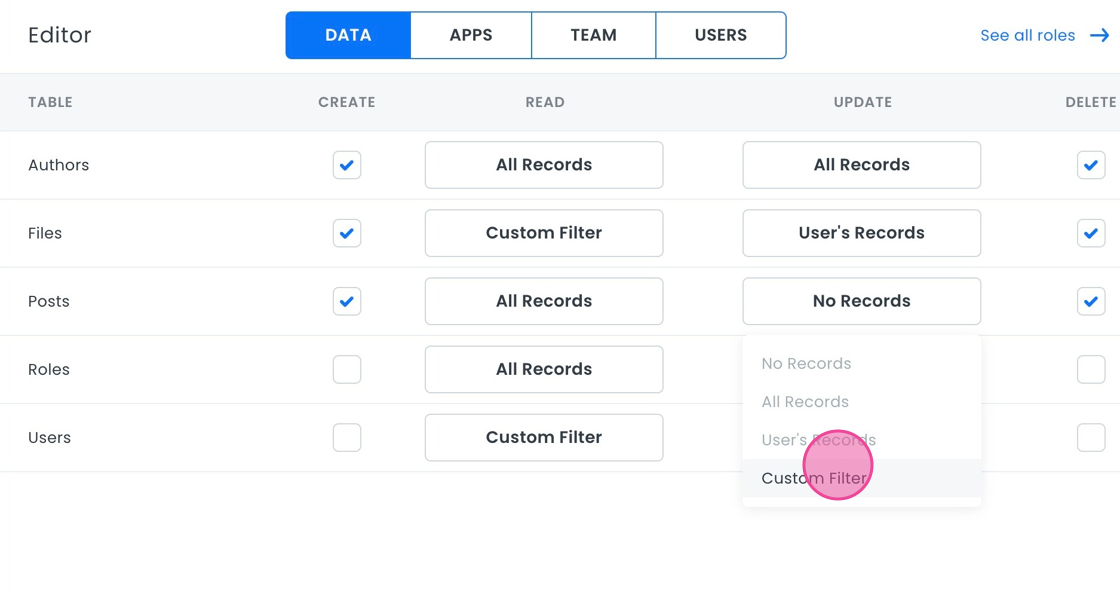
- Use the custom filter to ensure that Editors can only update posts from authors in their domain. We will explain more about configuring a custom filter in section 3 of this document.
Reader
Now we will create another new role called "Reader". Readers will only have read permissions for posts.
- Click the Add Role button.
- Type in “Reader” and click Add Role.
- Under the Data tab, find Posts.
- Grant CRUD permissions for the
Poststable. - In the Read column, select All Posts.
For Team Members
We need an administrator role, which can only be given to team members. We will use the default "Administrator" role that 8base provides. This role has all permissions enabled by default, granting team members full access to manage content, users, and application settings within the 8base Management Console.
For more on roles and permissions, explore Roles and Permissions.
Authentication
Authentication ensures that only authorized users access the platform.
Authentication Profile
We will start by creating an Authentication Profile.
- Go to App Services > Authentication in the 8base Management Console.
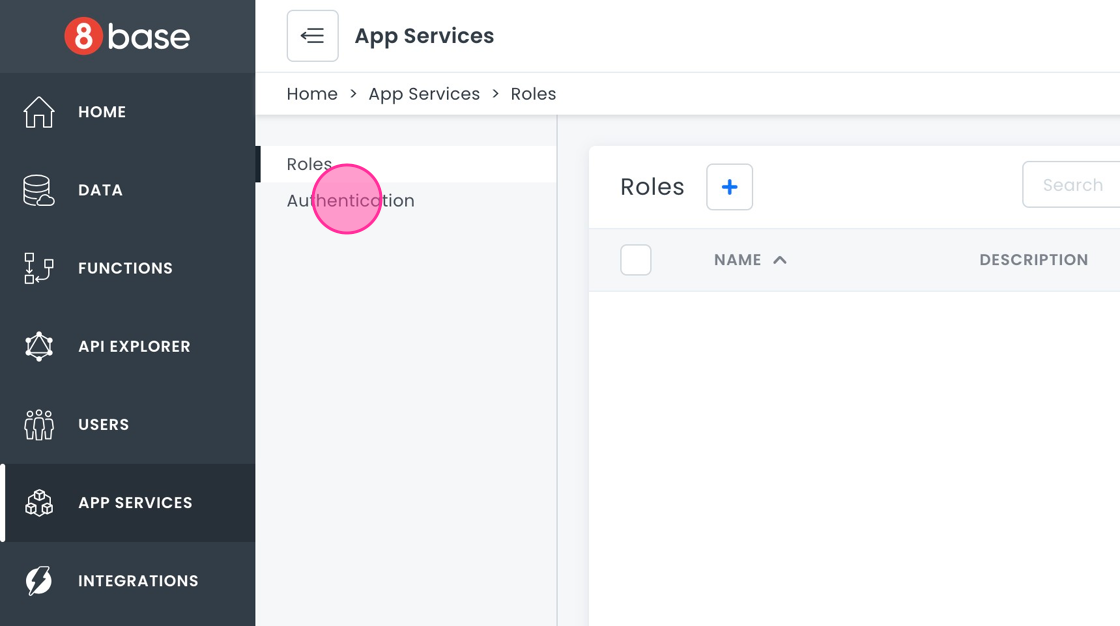
- Click on the + button to create a new authentication profile.
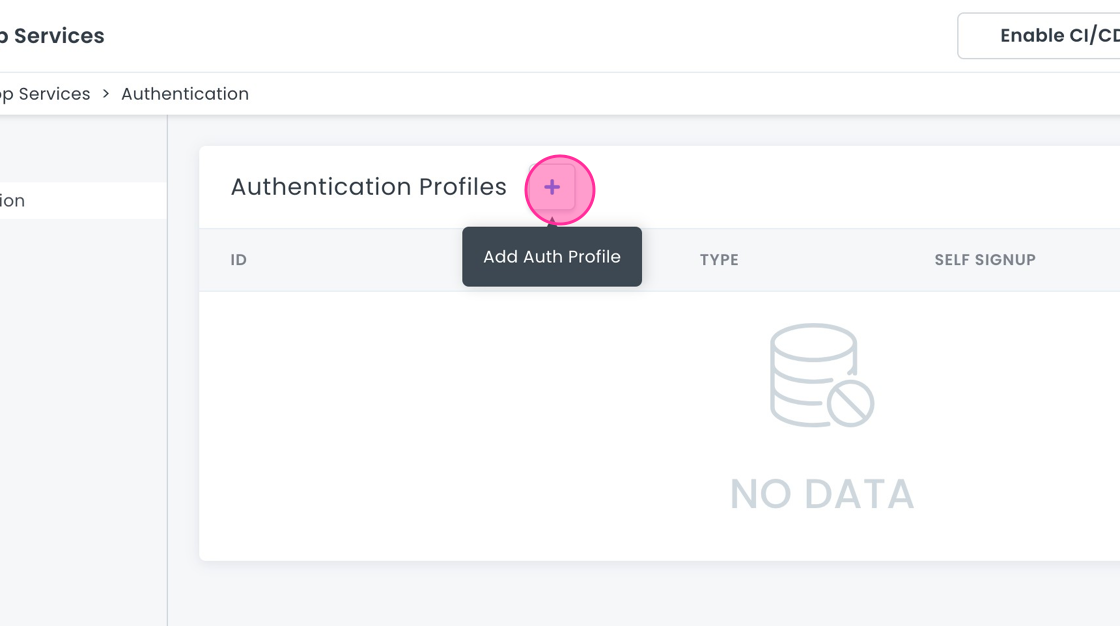
- Fill in the form:
- Name: A descriptive name, e.g., "Blogging Platform Auth".
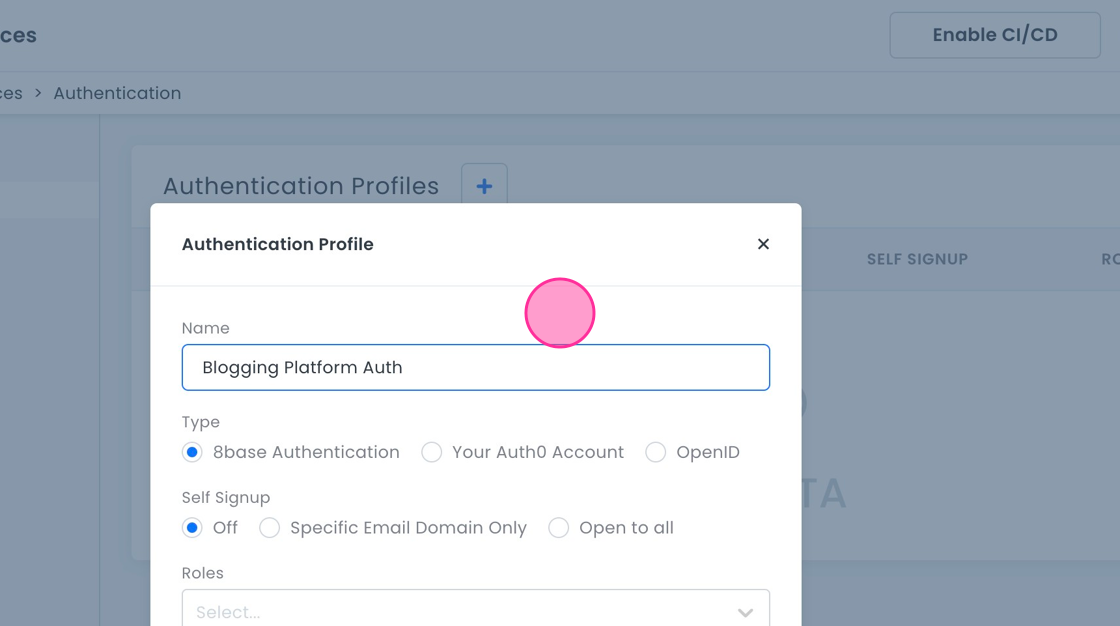
- Type: Choose 8base Authentication.
- Self Signup: Select Open to all.
- Roles: Attach the "Editor" role you created.
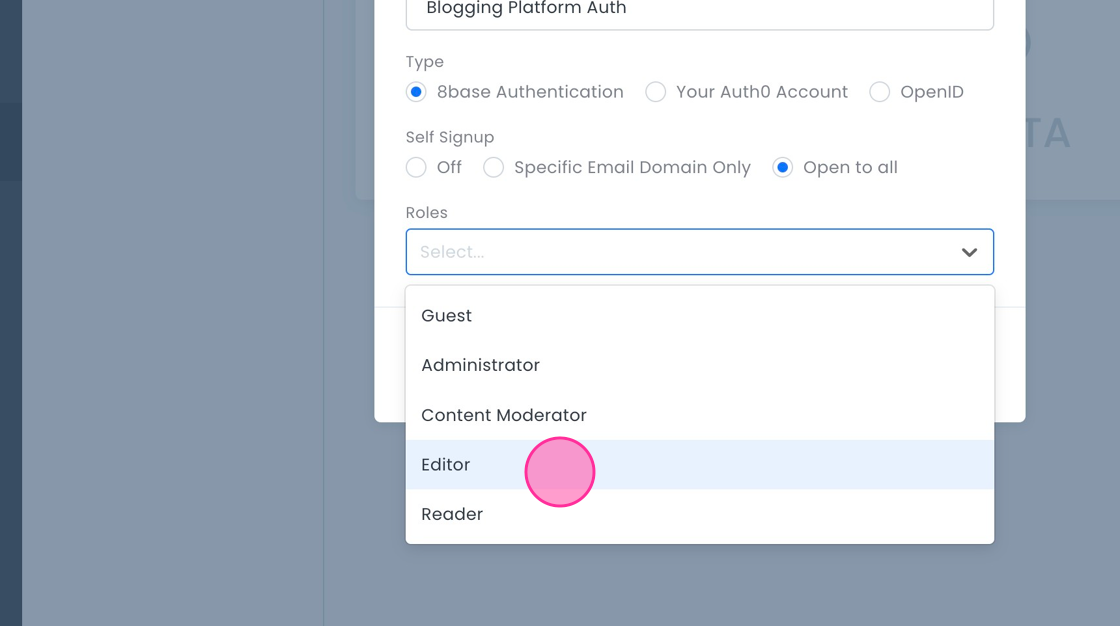
- Configure client-side information and callback URLs if needed.
- Name: A descriptive name, e.g., "Blogging Platform Auth".
- Save the profile.
- Repeat this process for the "Reader" role.
User Sign Up with userSignUpWithPassword Mutation
We will use the userSignUpWithPassword mutation for user sign-up:
mutation UserSignUpWithPassword(
  $user: UserCreateInput!
  $password: String!
  $authProfileId: ID
) {
  userSignUpWithPassword(
    user: $user
    password: $password
    authProfileId: $authProfileId
  ) {
    id
    email
  }
}
To learn more about authentication in 8base, see Understanding Authentication.
Custom Filters
Custom filters control data access. Here's how to set one up:
- Navigate to App Services > Roles.
- Click on "Editor" to edit role permissions.
- Under the Data tab, find Posts.
- In the Update column, click the dropdown in the Posts row. Click Custom Filter.

- Paste the following code
{
  "authors": {
    "users": {
      "email": {
        "ends_with": "@stagemedia.com"
      },
      "roles": {
        "some": {
          "name": {
            "equals": "Editor"
          }
        }
      }
    }
  }
}
- Click Save.
This filter ensures that Editors can only update posts from authors in their domain.
Interested in mastering custom filters? Check out Custom Filters.
Creating API Tokens
API Tokens allow scheduled post publication without direct user intervention. To create an API token:
- Go Settings > API Tokens.
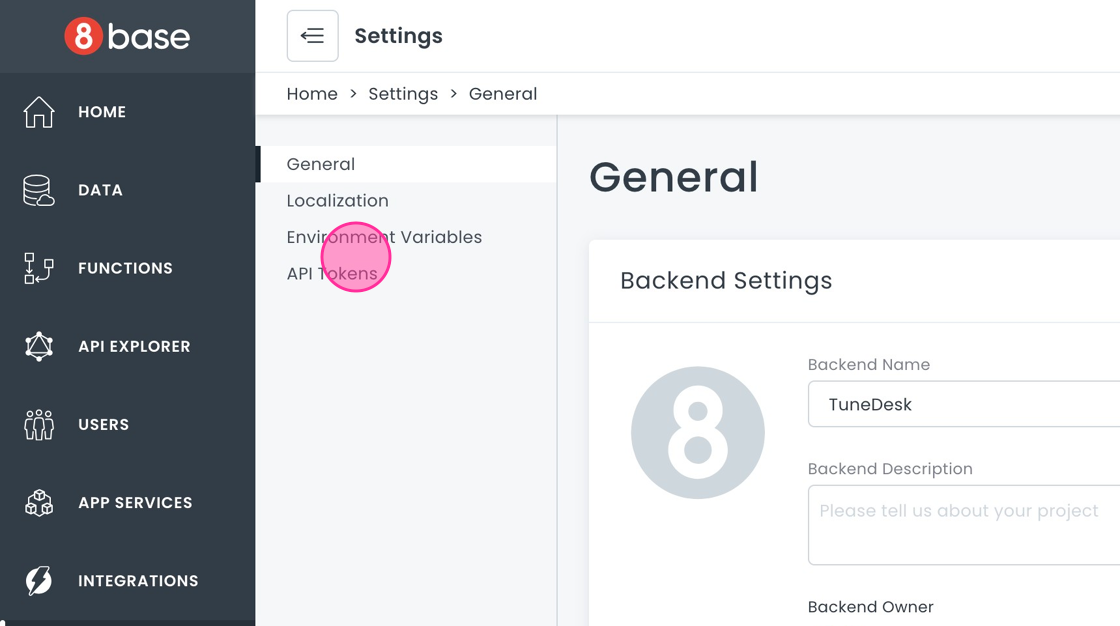
- Click Create API Token.
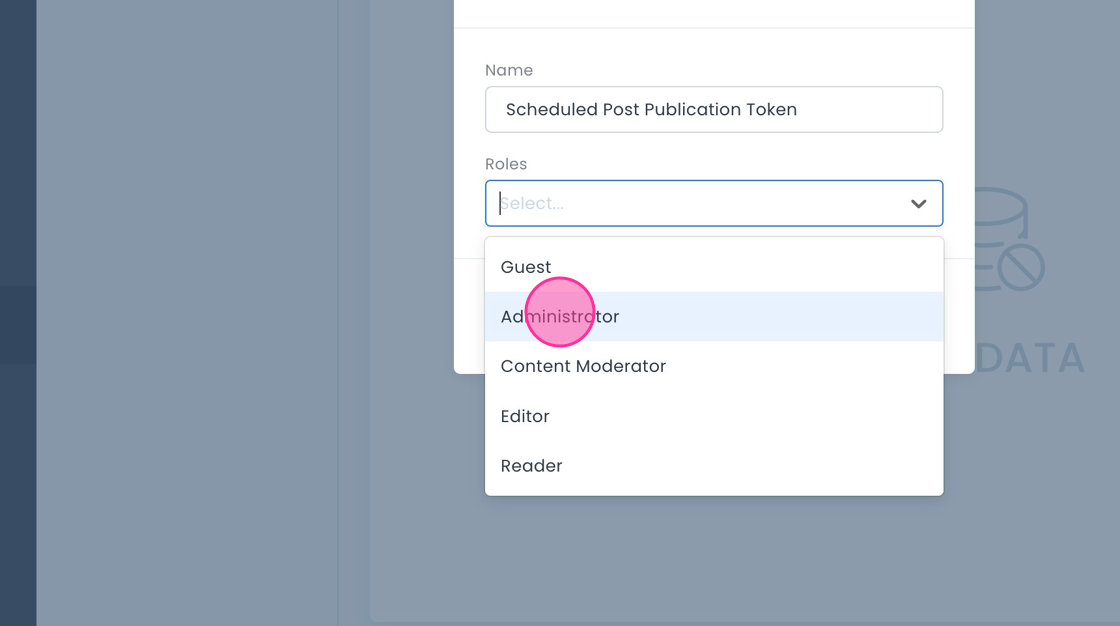
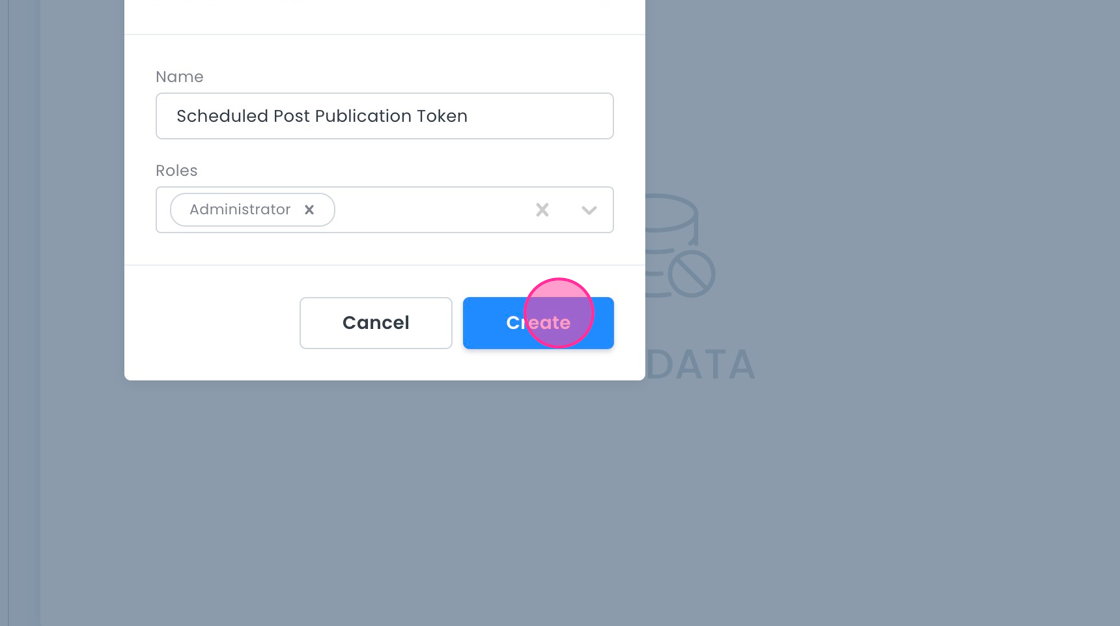
- Name it "Scheduled Post Publication Token".
- Add the 'Administrator' role.
- Click Create.
- Store the token securely after creation.
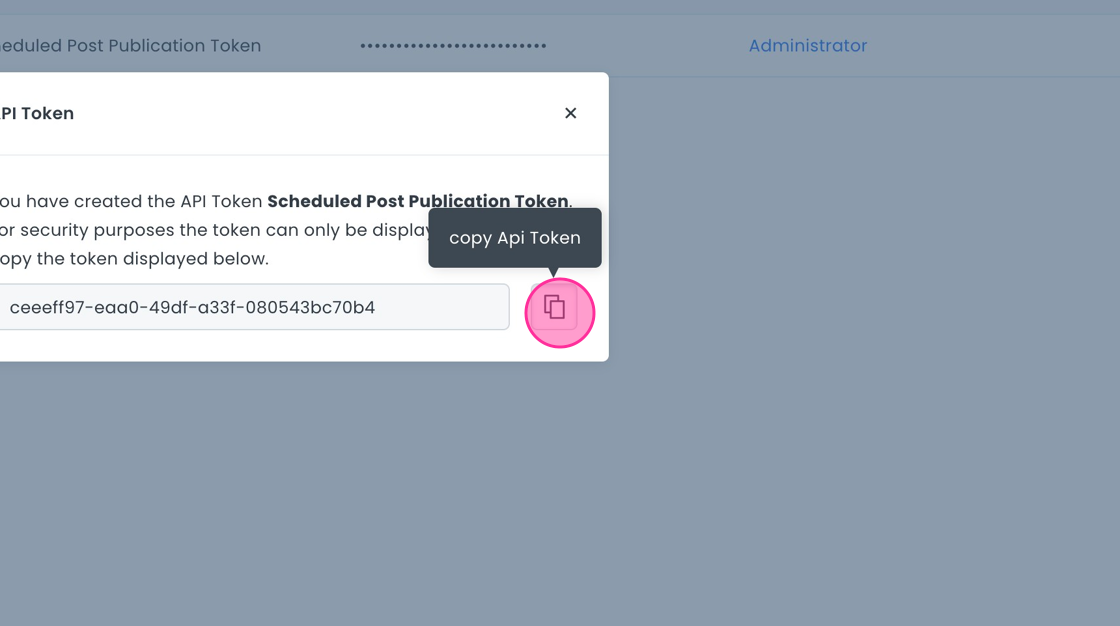
Using this token, a server-side script can fetch scheduled posts and publish them without user intervention. Note that by default, API Tokens have no permissions, hence associating roles is crucial.
For a deeper dive into API tokens and their capabilities, visit API Tokens.
With these settings, your blogging platform offers differentiated access for Editors, Readers, and Administrators. It is also primed for server-side operations via API Tokens, ensuring a secure and efficient environment.