Binding a Request to a Looper
This example will demonstrate how to access data in a Request for use in a Looper component.
You will need a Page with no content and a Request called "queryUserList" that contains an array of objects with the following properties: firstName, lastName, email, media, birthdate, and team.
- Set the Viewport size to 926; this can be found at the top of the application builder.
- Select a Header component from the Layout section of the Components pane and drag it onto your page.
- Click the Styles tab in the right-hand pane and set the grid icon under Background Color to
#dfb94. - Select a Heading component from the Common section of the Components pane and drag it onto your Header.
- Enter "Fantasy Sports Pool" into the Text field and set the drop-down in the Tag field to H3 on the Properties pane.
- Click the Styles pane and set the drop-down in the Variant field to H3.
- Check that the Font Color is set to Initial and the Align is set to Inherit.
- Expand the Typography section and set the Color to
#ffffff. - Select a Container component from the Common section of the Components pane and drag it onto your Page.
- At the top of the Properties pane to the right of the arrow, enter "Users" as the container name.
- Click the Styles tab in the right-hand pane and set the Display to Flex and the Direction to column (the down arrow).
- Expand the Flex Child section and set Flex Grow and Flex Shrink to 1.
- Expand the Size section and set the Height to 100 px.
- Select another Container component from the Common section of the Components pane and drag it onto your first Container.
- Click the Styles tab in the right-hand pane and set the Display to Flex.
- Expand the Size section and set the Width to 100%.
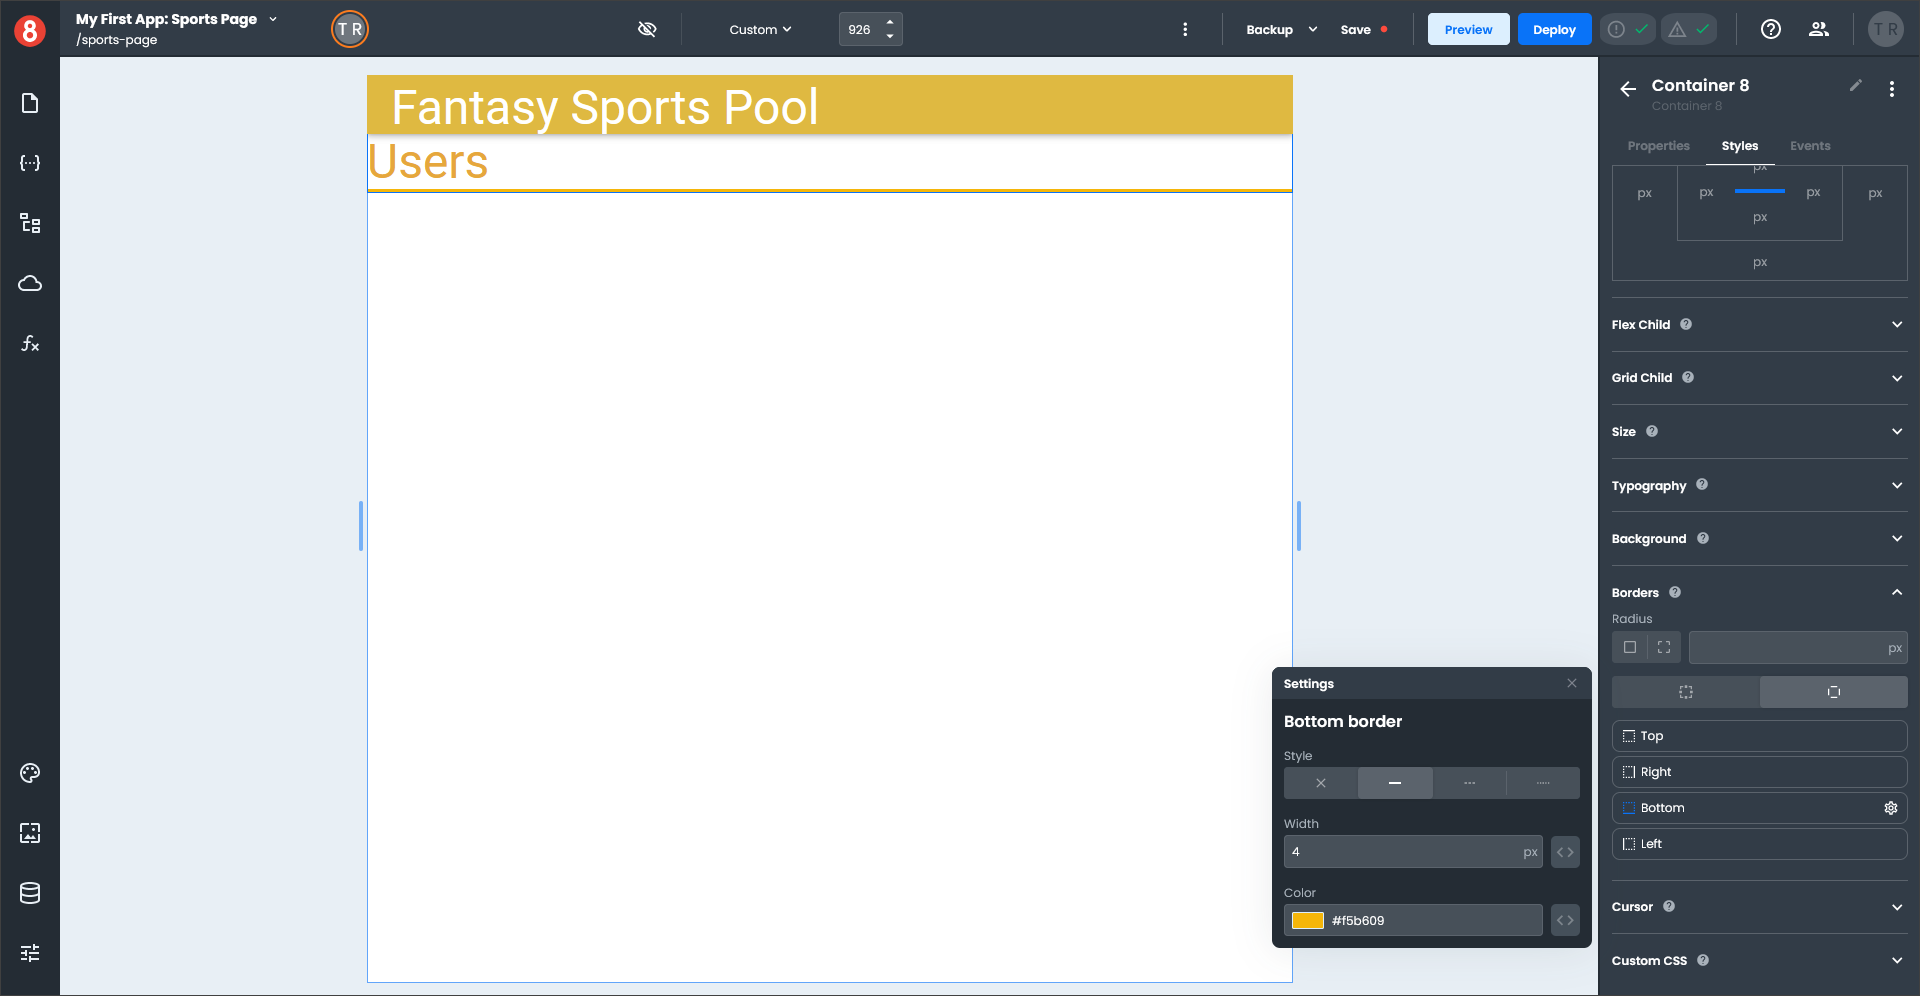
- Expand the Border section and click the large button with a rectangle; this allows you to independently set properties on the Top, Right, Bottom, and Left borders.
- Click the gear icon next to the Bottom item to open the settings pop-out.
- Set the Style to solid, the Width to 4, and the Color to
#f5b609, and click "x" to close the pop-out. - Select a Heading component from the Common section of the Components pane and drag it onto your second Container.
- Enter "Users" into the Text field and set the drop-down in the Tag field to H3 on the Properties pane.
- Click the Styles pane and set the drop-down in the Variant field to H3.
- Check that the Font Color is set to Primary and the Align is set to Inherit.
At this point, your page should look like this.
- Select a Looper component from the Data section of the Components pane and drag it onto your Users Container.
- Click the Styles pane, expand the Size section, and set the Height to 100 px.
- Select a Card component from the Common section of the Components pane and drag it onto your Looper.
- Click the Styles pane, expand the Size section, and set the Width to 100 %.
- Expand the Border section and set the Radius to 15 px.
- Select a Container component from the Common section of the Components pane and drag it onto your Card Content.
- At the top of the Properties pane to the right of the arrow, enter "Content" as the container name.
- Click the Styles tab in the right-hand pane and set the Display to Flex.
- Expand the Size section and set the Height to 120 px.
- Select a second Container component from the Common section of the Components pane and drag it onto your Content Container.
- At the top of the Properties pane to the right of the arrow, enter "Image" as the container name.
- Click the Styles pane, expand the Size section, and set the Width to 100 px.
- Select a third Container component from the Common section of the Components pane and drag it onto your Content Container.
- At the top of the Properties pane to the right of the arrow, enter "Text" as the container name.
- Select an Image component from the Other section of the Components pane and drag it onto your Image Container.
- Click the Styles pane, expand the Size section, and set the Height to 100 %.
- Select a Typography component from the Common section of the Components pane and drag it onto your Text Container.
- Select a second Typography component from the Common section of the Components pane and drag it onto your Text Container.
- Click the Styles pane and enter "Team: none", without quotes, into the Text field.
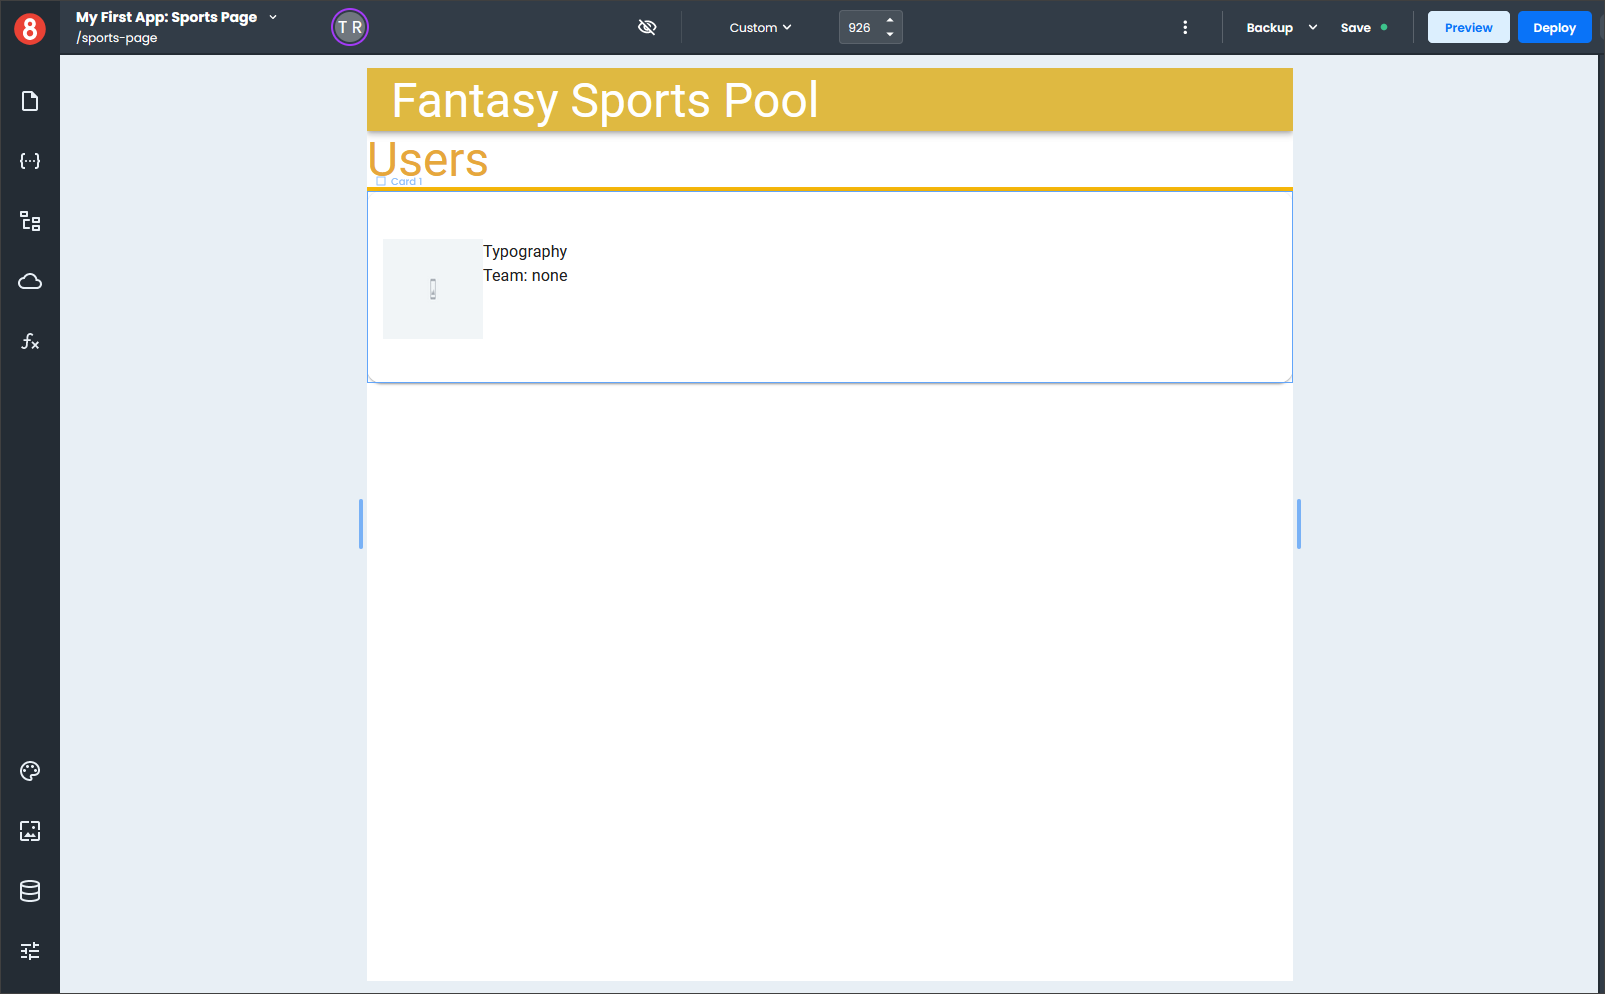
Your page should now look like this.
Now that all your components have been set up on the page, you are ready to add data.
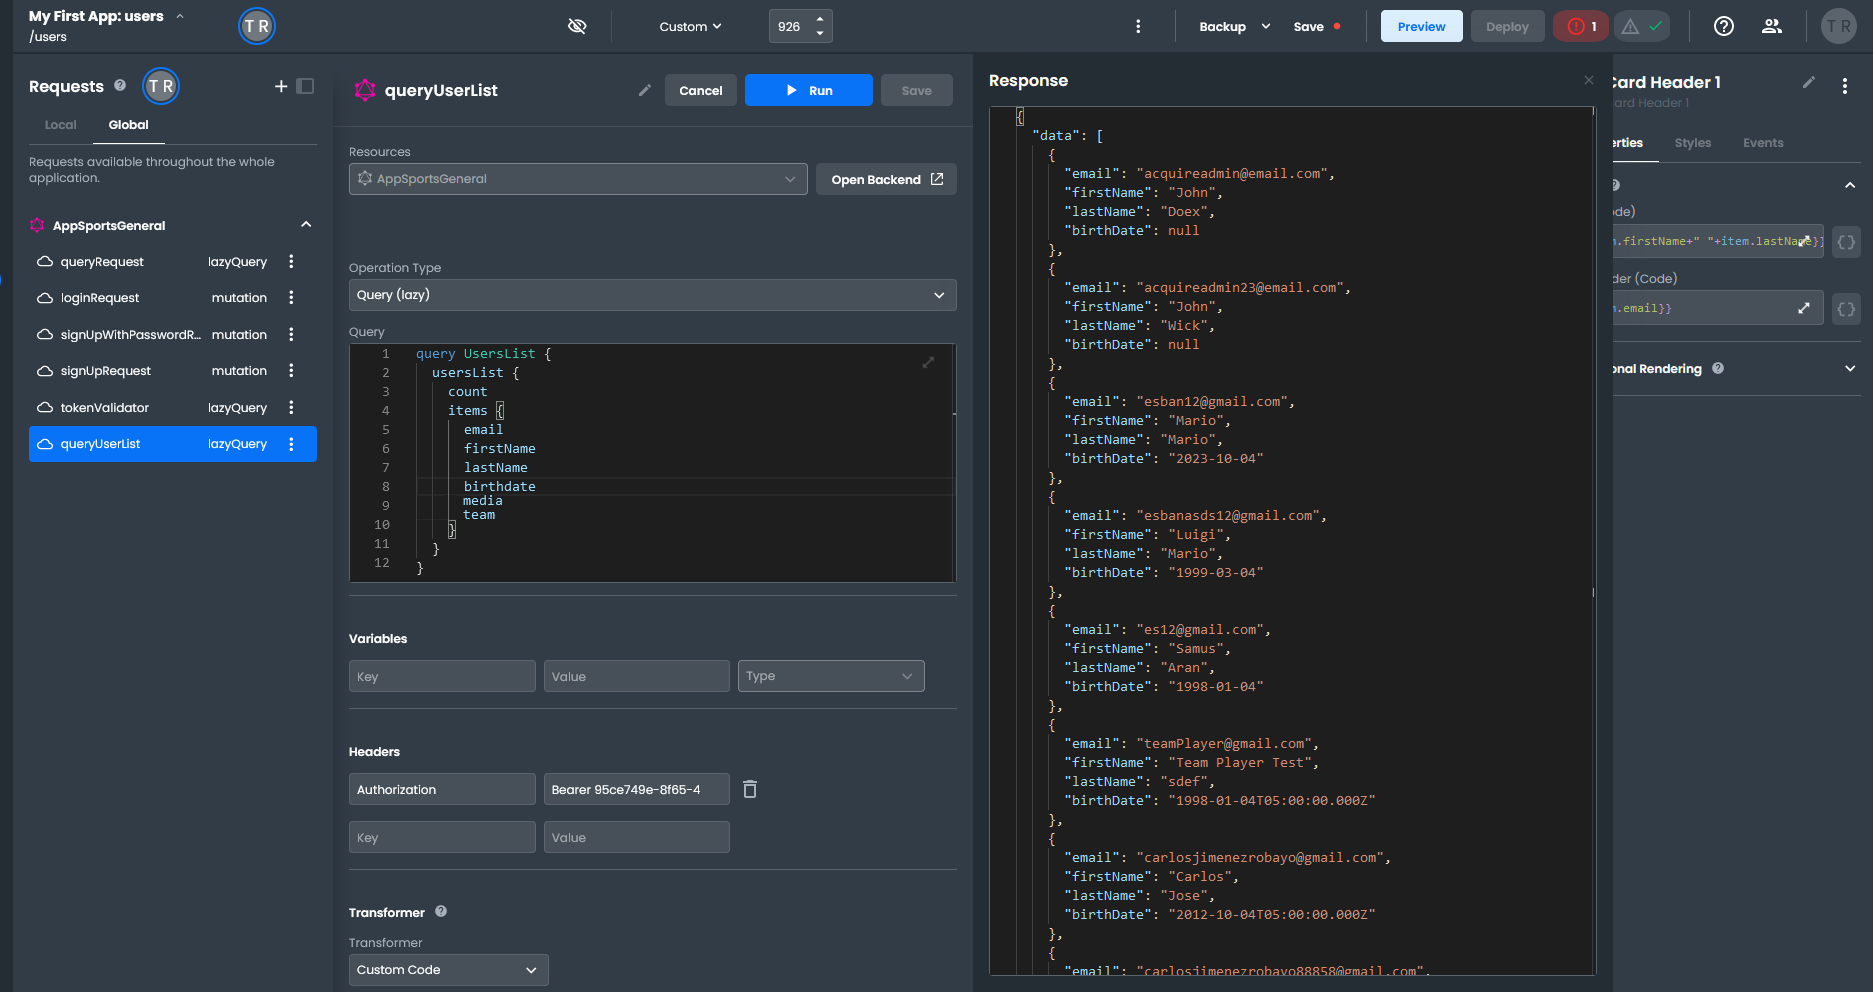
- Click the Request icon (cloud) on the left-hand menu, which opens the Requests pane.
- Click on the Global tab and select your request queryUsersList, which opens the Query panel.
- Click the "Run" button at the top of the panel.
- A Response window will open to the right of the Query panel.
You now have data that you can test in your components.
- Select your Looper component.
- On the Properties pane in the Custom Properties section, enter
{{ queryUserList?.data }}in the Loop Data field. - Select your Card component.
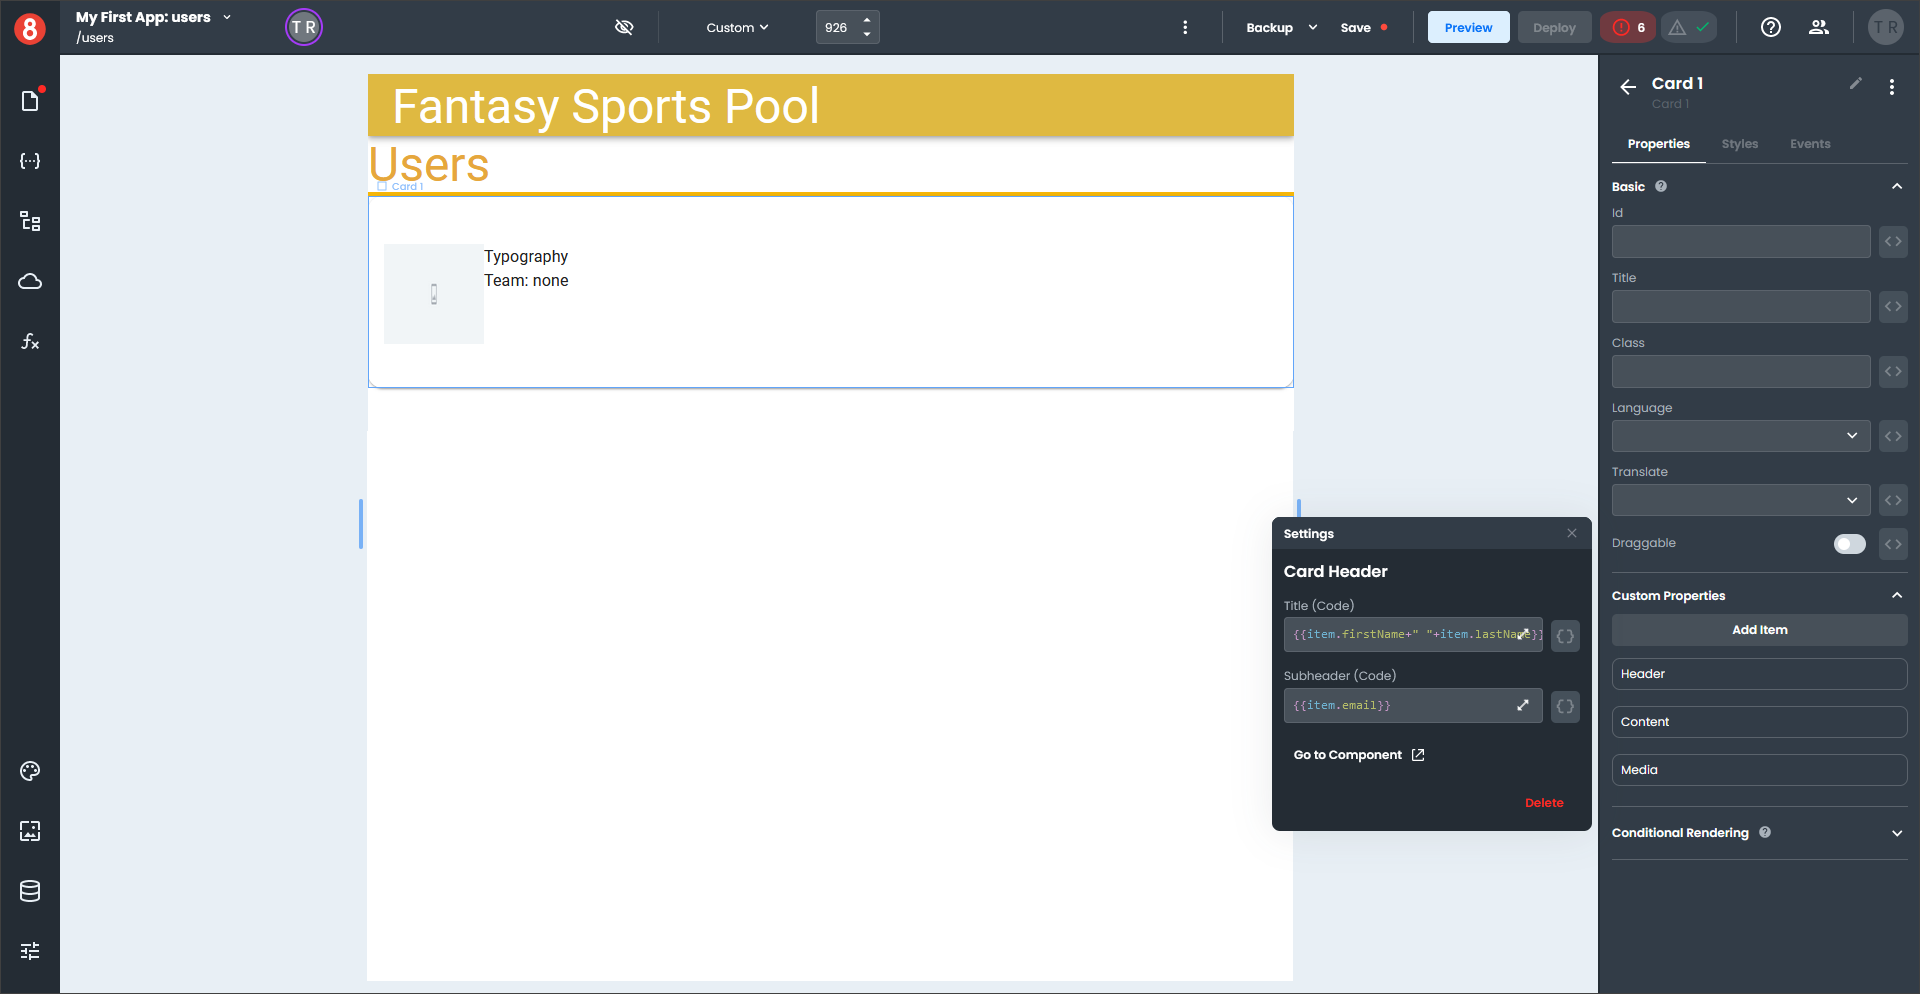
- On the Properties pane in the Custom Properties section, click the gear icon to the right of the Header, which opens a pop-up settings window.
- Next to the Title field, click the three-way icon "\<>" and switch to the code format "{}".
- Enter
{{item.firstName+" "+item.lastName}}in the Title field. - Next to the Subheader field, click the three-way icon "\<>" and switch to the code format "{}".
- Enter
{{item.email}}in the Subheader field and click "x" to close the pop-out.
- Select your Image component.
- On the Properties pane, next to the Source field, click the three-way icon "\<>" and switch to the code format "{}".
- Enter
{{item.media}}in the Source field. - Select the first Typography component.
- On the Properties pane, next to the Text field, click the three-way icon "\<>" and switch to the code format "{}".
- Enter
Birth Date: {{lux.DateTime.fromISO(item.birthDate, "DD-MM-YYYY").toFormat('MMMM d, yyyy')}}in the Text field. - Select the second Typography component.
- On the Properties pane, next to the Text field, click the three-way icon "\<>" and switch to the code format "{}".
- Enter
Team: {{item.team}}in the Text field.
Your completed page should look something like this.
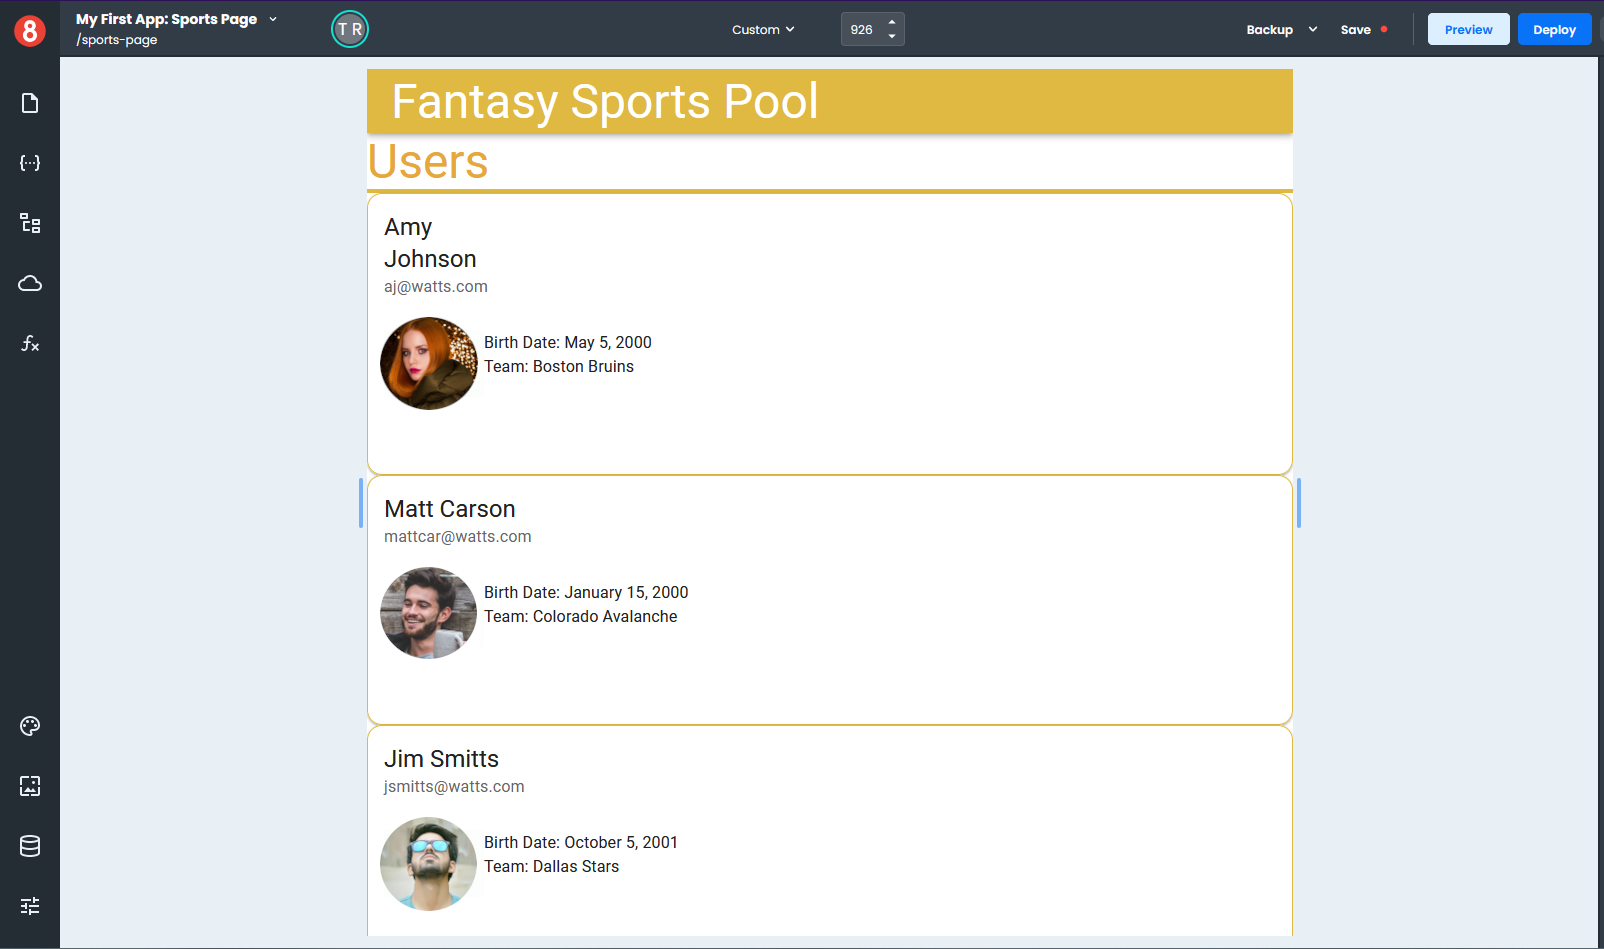
This example gives you some idea of how to access Request data from inside a Looper and use it in any component within the Looper.